
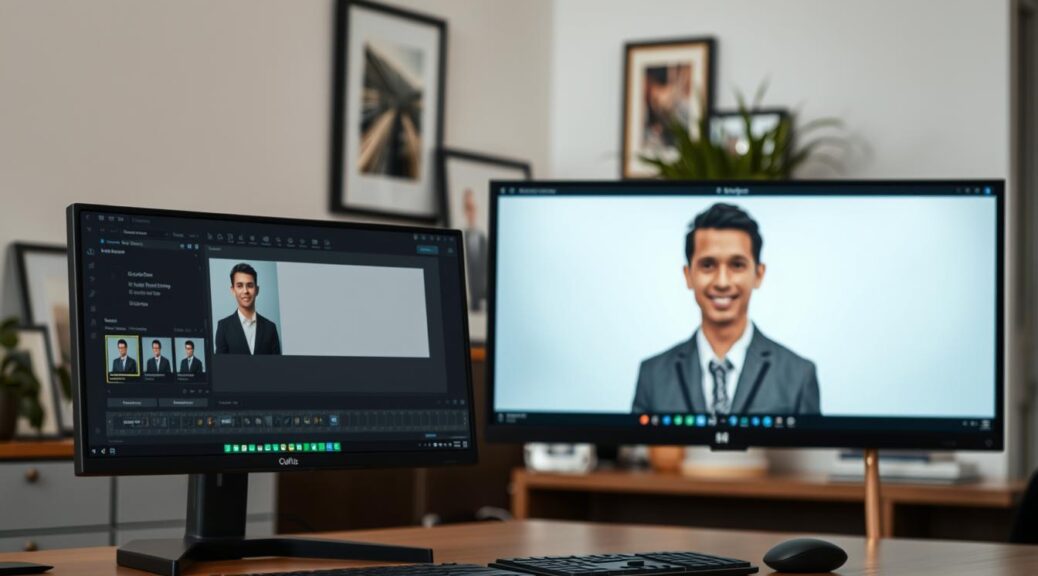
To edit, or not to edit? That’s the big question in headshots. We’ve all seen faces smoothed out too much, smiles looking too bright. It’s like the uncanny valley of LinkedIn profiles.
Here’s the secret: headshot editing & retouching isn’t about lying. It’s about making things clearer. Cameras show everything, even what we usually ignore.
I believe in capturing you on your best day. It’s like having a top-notch publicist, not a CGI artist. We’re not hiding your true self. We’re just removing distractions.
The aim is a photo that feels real yet polished. It’s the difference between a simple picture and a powerful image. This careful way of enhancing a professional photo keeps your true self in view. It makes sure your image supports your goals. Knowing when to get a new headshot is key for any professional today.
Retouching Basics (Skin, Hair, Eyes)
Think of headshot editing & retouching as a chef’s tasting menu. Each adjustment is made with care. We aim to enhance, not change you into something else.
Starting with your skin, we focus on keeping its natural texture. A portrait should never look like plastic. That’s a big no-no.
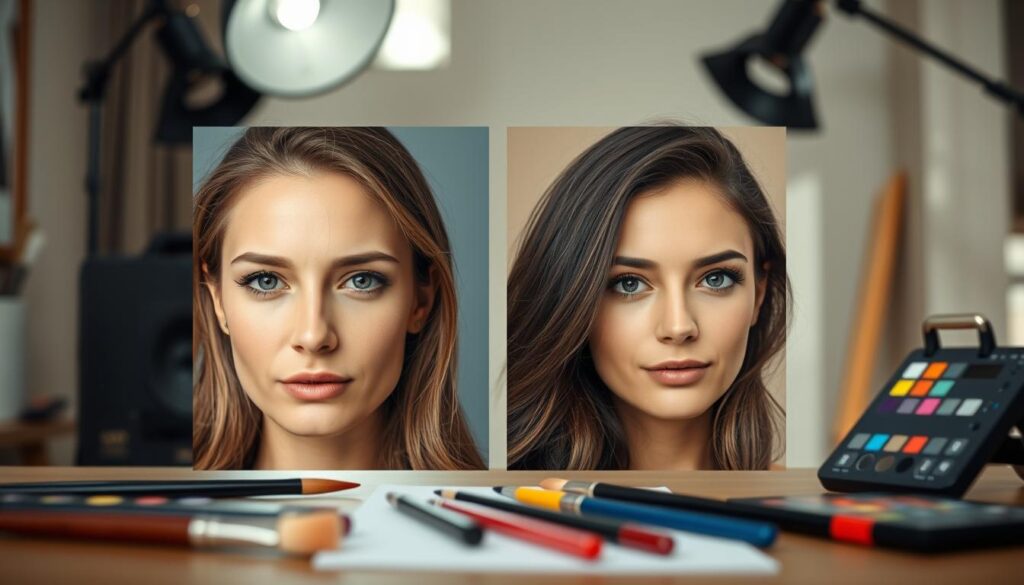
For skin, I use Frequency Separation. It’s like a digital layer cake. One layer is for color and tone, the other for texture.
This method lets me fix skin issues without losing its natural look. It’s like repainting a vintage table without removing its charm.
Next, we work with light using Dodge and Burn. This technique enhances the natural light in your photo. It’s not about changing your face but making it pop.
With a soft brush, I lighten and darken areas to add depth. This makes your face look three-dimensional without looking fake.
For blemishes, the Healing Brush is my go-to tool. It covers imperfections without leaving any telltale signs. Your skin looks flawless but natural.
Hair is all about tidying up. We aim to remove flyaways and give you a polished look. No helmet-head here.
Eyes are the windows to your soul. I gently brighten the whites and sharpen the iris. Teeth get a similar treatment to make you sparkle.
Color correction is the final touch. It fixes any color issues, ensuring you look natural and true to yourself.
Here’s a quick look at the essential tools for retouching. It’s like a Swiss Army knife for your photos.
| Technique | Primary Purpose | Key Tool/Principle | Result |
|---|---|---|---|
| Frequency Separation | Even skin tone & color | Separates color from texture layers | Natural, pore-preserving smoothness |
| Dodge and Burn | Enhance facial dimension | Subtly lighten & darken with soft brushes | Added depth, no structural change |
| Healing Brush | Remove blemishes & spots | Samples adjacent good skin | Flawless yet textured skin |
| Selective Sharpening | Define eyes & details | Applied only to iris, eyelashes | Brighter, more engaging gaze |
| Color Correction | Neutralize unwanted color casts | Adjusts white balance & local hues | True-to-life, consistent skin tones |
The key to great headshot editing & retouching is subtlety. It’s the difference between a sharp suit and one with too much padding. Good retouching should make you look like the best version of yourself, naturally.
Resisting Over-editing
Many photographers go too far in making headshots perfect. They cross the line from making things better to erasing them. My goal is to boost confidence, not create fake people.
The temptation to smooth out every wrinkle is strong. But, removing all imperfections makes a person look fake. It’s like a wax figure, polished but creepy.
Over-editing shows a lack of confidence. It says, “I don’t trust you to like me as I am.” A good headshot should make you feel connected, not strange.
To avoid making things look fake, follow these retouch tips:
- Zoom Out. See the whole image, not just the flaws. Does the face look right with the body? Is the light natural?
- Walk Away. Take breaks while editing. That small tweak might look too much later. Fresh eyes are key.
- Remember the Mission. Aim for the “best day” version, not a new person. Your lines and nose tell your story.
Talking to your client before editing is essential. Discuss their worries and what they want. This sets clear expectations and avoids unrealistic requests.
Authenticity is what people connect with, not perfect images. Think about those old magazine covers that tried to erase all character.
The best retouch tips are about knowing when to stop. A slight shadow under the eye can show intelligence. A perfectly symmetrical face can look lifeless. Your goal is to enhance, not erase identity.
Your headshot should show your best self on a great day. It should be real because it is. That’s the art of knowing when to stop.
Editing Apps and Services
Choosing your editing software is like picking a surgeon: do you want a scalpel or a butter knife? Smartphone apps offer a quick “beauty” filter that makes everyone look the same. But for serious headshot editing & retouching, we need more.
For real work, you need serious software. Think of it as a toolkit for pixel surgeons. Capture One is great for color and raw file processing. It helps get skin tones right and lighting balanced.
But for detailed retouching, you need a dedicated pixel editor. Adobe Photoshop or Affinity Photo are top choices. They have tools like Frequency Separation and the advanced Healing Brush for detailed work.
Having the right tools doesn’t make you a pro. You need to know how to use them well. This skill takes time to develop.
Professional headshot editing & retouching takes a lot of time. It’s about 30 minutes to over an hour per image. It requires a lot of detail and patience.
So, you have a choice: do it yourself or hire a pro. You can learn it, but is it worth your time? Or is it better to hire someone who already knows how to do it well?
| Feature | DIY Approach | Professional Service |
|---|---|---|
| Primary Tools | Licensed software (e.g., Photoshop, Capture One) | Same industry-standard tools, plus years of experience |
| Time Investment Per Image | 30 mins to 1.5+ hours (learning curve included) | You save 100% of the active editing time |
| Skill & Judgment Required | High; requires dedicated practice to develop an “eye” | Provided by the retoucher; their skill is the product |
| Upfront Cost | Software subscription or purchase ($20-$50+/month) | Per-image or per-project fee |
| Final Output Consistency | Variable; depends on your current skill level | Consistently high-quality, portfolio-ready results |
There’s no wrong answer, only a question of priority. If you want to learn, go for it. If you want flawless headshots without the hassle, a professional retouching service is the way to go. The tools are just tools. The real magic is in knowing how to use them.
Final Output (Web & Print)
So where does this masterpiece live? The answer changes everything. This is where strategy meets pixels.
Think about a tight corporate headshot. It’s meant for LinkedIn or a company ‘About’ page. Here, “fully retouched” isn’t just about looks; it’s a must. It’s all about precision in editing & retouching. Every pixel matters.
Now, imagine a personal branding shot. You’re in a studio or a real-world setting, telling a story. The viewer’s eye explores the scene. The retouching is about making the story better, not changing everything.
The delivery medium sets the rules. Web images need the sRGB color profile and specific resolutions for sharpness. If you get this wrong, your portrait won’t look right.
Print is different. A casting director’s portfolio or a glossy annual report needs higher resolution and the CMYK color profile. It’s about ink, not light. True headshot editing is about dressing the image for its destination. It’s like choosing the right outfit for the occasion.