
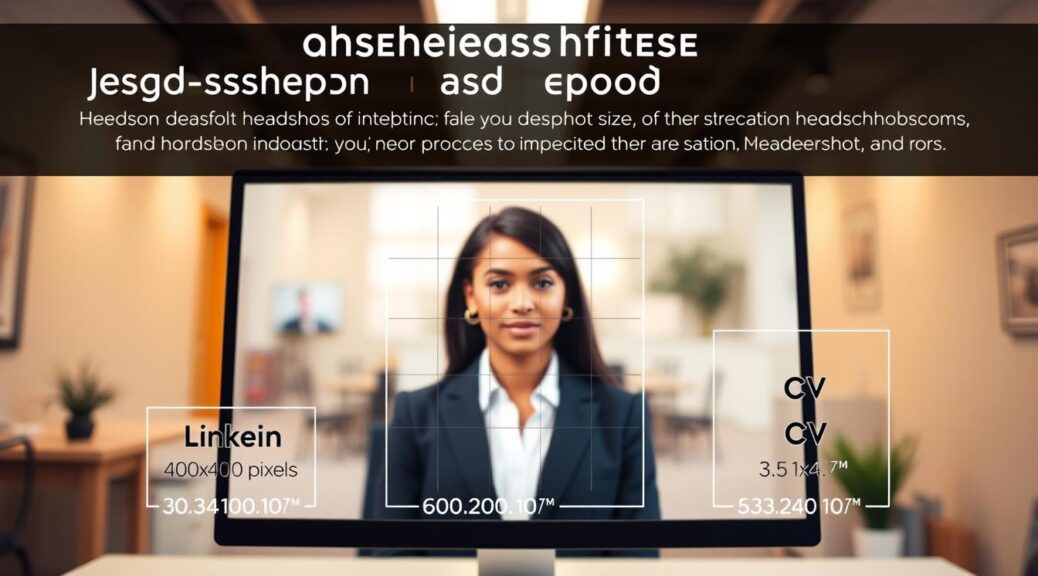
Your profile picture is like a digital handshake. A bad one can make a terrible first impression. In today’s world, your small square picture is judged on everything from big screens to small email previews.
Why does this matter? Each social media platform has its own rules for your portrait. Use the wrong size, and your picture could get cut off, stretched, or blurred. It’s not just about looking good; it’s about showing you’re competent online.
You might have heard that 1080 pixels wide is common. But there’s more. Instagram and Facebook want a 320×320 pixel square, which they turn into a circle. LinkedIn and X (formerly Twitter) need 400×400. TikTok asks for 200×200.
This section is your guide to survival. We’ll look beyond just numbers to understand why these standards matter. It’s like getting ready for the next big change online.
LinkedIn, Resume, Business Cards, Email
Your headshot is not just for one place; it’s for many. It must fit the rules of LinkedIn, resumes, business cards, and email signatures. Each place has its own look and feel. If your headshot doesn’t fit, it sends a message about your care for details.
LinkedIn is like a digital suit fitting. It wants a profile photo of 400 x 400 pixels, but it can take bigger files. But, it cuts your photo into a circle. This means your face must be right in the middle.
Your 400×400 pixel image shows your professionalism. A smaller image looks bad. For the cover photo, use 1584 x 396 pixels. This is for branding, not your face.
Resume
The resume headshot is a tricky part of job applications. It’s expected in some fields but not others. But if you include it, the rules change to dots per inch (DPI).
For a printed resume, use a 1×1 inch image at 300 DPI. This means your source file should be 300 pixels wide. For a digital PDF, use 200x200px to 400x400px. The right size is key to avoid looking vain or blurry.
Business Cards
Putting your face on a business card is bold. It says, “I am the brand.” But, the space is small, and printing is strict.
Choose a high-quality image, 600 DPI at your print size. A big, clear image looks sharp. A small one looks bad. This is all about looking professional.
Your email avatar speaks before you do. It’s a small square that says “professional” or “sloppy.” The size and file weight are important.
Use sizes between 100x100px and 200x200px. You need to be recognizable without using too much data. Heavy images can be distorted or blocked. Aim for a small file size, under 50KB.
Learning to size your headshot for these platforms is key to your personal brand. Each platform has its own rules. You need to speak their language.
File Formats (JPEG, PNG, TIFF)
JPEG, PNG, and TIFF are key to your online photo’s success. They’re like the grammar of your visual resume. Knowing how to use them is essential for headshot sizing.
Choosing the right file format affects your photo’s quality and whether it uploads smoothly. Let’s explore each option.
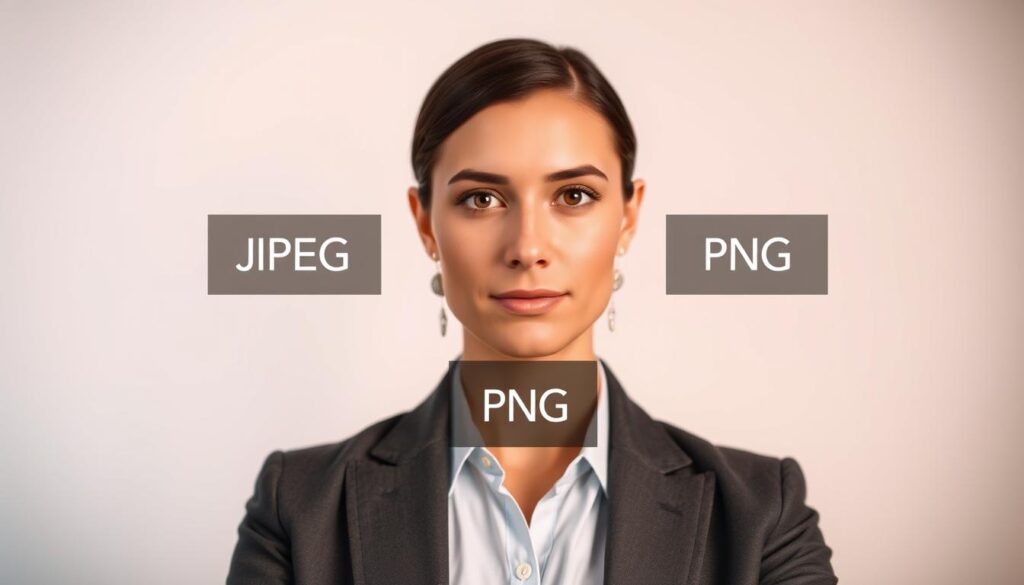
JPEG: The Pragmatic Workhorse
JPEG is the top choice for digital images. It’s widely accepted and uses lossy compression. This means it reduces file size by removing data.
But, if you make the quality too low, your photo will look bad. Aim for a quality setting of 80-90%. This keeps your photo looking good while keeping the file size small.
Most social sites, like LinkedIn, Facebook, and Instagram, prefer JPEG. They have size limits, like LinkedIn’s 8MB. JPEG is versatile and rarely wrong.
PNG: The Meticulous Archivist
PNG is for those who want perfect detail. It uses lossless compression, keeping every pixel. But, it makes files bigger.
PNG is great for clear edges and subtle colors. It’s perfect for a sharp photo with a clean background. If you need a photo with a transparent background, PNG is your best bet.
But, PNG files are big. For a simple headshot on a solid background, JPEG might be better. It’s more efficient.
TIFF: The Master Vault
TIFF is the ultimate digital file. It’s like your original photo, kept safe. No social media site accepts it for a profile picture.
TIFF is your starting point. Every JPEG or PNG should come from a TIFF original. This ensures your photo looks its best. Edit and save in TIFF, then export JPEGs or PNGs for platforms.
Here’s a quick guide to help you choose:
| Format | Best For | Compression | Transparency? | Web-Friendly? |
|---|---|---|---|---|
| JPEG (JPG) | Standard profile photos, social media feeds, balancing quality and file size. | Lossy (adjustable quality) | No | Yes – The universal standard. |
| PNG | Logos, text overlays, images requiring transparent backgrounds, maximum edge clarity. | Lossless (no quality loss) | Yes | Yes, but larger files may slow page loads. |
| TIFF | Archival master files, professional printing, high-end retouching workflows. | Lossless or none | Yes (in some variants) | No – Not accepted by social platforms. |
Your LinkedIn photo size is 400×400 pixels. But, a low-quality JPEG looks bad. Start with a TIFF, then export a sharp PNG or JPEG. This ensures your photo looks great online.
Cropping Tips
In today’s world, a bad headshot crop is like showing up to a meeting with a tie caught in a shredder. It’s a visual mistake that hurts your message before you even speak. Cropping is the key edit that frames your story, telling everyone where to look.
Forget basic sizing headshot online methods. We’re now focusing on composition. Let’s explore the techniques that keep you in the spotlight, not hidden in the corners.
The Rule of Thirds for Faces
The classic Rule of Thirds is photography 101. Imagine a tic-tac-toe grid over your image. The theory says to place points of interest where the lines intersect.
For portraits, we bend the rule. Your eyes are the North Star of engagement. Positioning them along the upper horizontal line creates a natural, approachable gaze. It invites the viewer in.
But here’s the modern twist: the platform’s circular crop. LinkedIn, Instagram, and others love to mask your square upload into a perfect circle. A composition that works in a rectangle can be decapitated by this shape.
The analytical solution? Compose for the circle first. Center your face within the original square frame. Leave generous “breathing room” on all sides. This ensures your key features survive the circular cut. It’s defensive design for your digital identity.

Avoiding the LinkedIn Guillotine
LinkedIn’s circular profile photo is a design constraint with a taste for drama. Upload a poorly framed shot, and it performs a digital execution—slicing off hair, shoulders, or your forehead. We call this the “LinkedIn Guillotine.”
Your mission is to stage a rescue. It starts with the correct LinkedIn photo size. Upload at least 400×400 pixels. This gives the algorithm a high-quality canvas to work with.
Next, define your safe zone. Think of the central 60-70% of your square image as the “panic room.” Keep all critical elements—your face, eyes, smile—well within these boundaries. This buffer zone protects you from the platform’s aggressive circular mask.
Why does this matter for headshot sizing? Because a 400px image cropped to a circle has a smaller visible diameter. If your face is crammed at the edge, you become a floating head in a porthole. Give yourself space. It looks more professional and intentional.
Aspect Ratios: From Square to Cinematic
Aspect ratio is the unsung hero of your photo’s shape and feel. It’s the difference between a corporate headshot and a creative portfolio piece. Your choice sends a silent signal.
Choosing the right ratio is a key part of sizing headshot online. It dictates how your image fits on different feeds and devices. Let’s decode the options.
| Aspect Ratio | Common Dimensions | Vibe & Use Case | Platform Friendliness |
|---|---|---|---|
| 1:1 (Square) | 1080 x 1080 px | Balanced, formal, traditional. The classic corporate headshot. | Excellent for LinkedIn profile pics, Instagram feed (legacy). |
| 4:5 (Vertical) | 1080 x 1350 px | Modern, spacious, mobile-first. Favored by creatives and influencers. | Ideal for Instagram feed, Facebook posts, portrait-oriented sites. |
| 16:9 (Landscape) | 1920 x 1080 px | Cinematic, broad. Says “keynote speaker” or “I misunderstood the assignment for a headshot.” | Best for website banners, video conferencing backgrounds. |
| 9:16 (Full Vertical) | 1080 x 1920 px | Immersive, story-driven. The domain of Instagram Stories and TikTok. | Essential for “Stories” and “Reels” formats. |
So, which one should you pick? For a universal professional headshot sizing strategy, the 4:5 vertical ratio is your safest bet. It offers more room for composition than a square and fits beautifully on mobile screens. The square 1:1 is your fallback for ultra-conservative fields.
Remember, your file format choice (JPEG or PNG) from the last section carries through here. A well-cropped JPEG is often perfect. But if you need a transparent background for a logo overlay, that PNG you saved will need the same careful cropping attention.
Cropping isn’t an afterthought. It’s the final, critical polish in your headshot’s journey from camera to profile. Master these tips, and you control the frame—no matter what shape the platform tries to force it into.
Compression Without Quality Loss
Every platform promises to handle your headshot’s compression. But, it’s a lie. Giving your headshot to a platform’s algorithm is like trusting a stranger to tailor your suit. The result is often a pixelated, blurry mess. Your headshot sizing strategy isn’t complete until you master the art of shrinking the file yourself.
Why does this matter? Platforms have strict maximums. LinkedIn caps uploads at 8MB for profile photos. Facebook allows up to 30MB. Exceed these, and their systems auto-compress. You lose control. The goal is to find that perfect point where the file format is lean, but your professional visage remains sharp.
The Myth of the ‘Save for Web’ Button
The ‘Save for Web’ button in your image editor is a siren song. It promises optimization with one click. Don’t be fooled. It’s a blunt instrument designed for generic web graphics, not the nuanced details of a human face.
What really happens when you compress? The algorithm averages color data. It simplifies fine details. Your sharp jawline might soften. The sparkle in your eyes can turn into a dull blob. We’re searching for the point of diminishing returns. This is where file size drops dramatically, but you don’t start to resemble a wax figure.
For a professional headshot, you need a surgeon’s precision, not a butcher’s cleaver. The ‘Save for Web’ option is the latter.
Tools That Don’t Betray Your Jawline
You don’t need a computer science degree. Smart tools are your cavalry. They help you compress with control, preserving the integrity of your image. Let’s analyze the contenders.
Some social media managers bake the correct LinkedIn photo size right into their workflow. Hootsuite Composer integrates with Canva for network-optimized resizing. Sprout Social’s Asset Library can store and serve pre-sized visuals. These are great for efficiency.
For granular control, dedicated tools shine. Landscape (by Sprout Social) is a free, web-based resizer. Squoosh.app, from Google, is a brilliant playground. It shows you a live comparison as you adjust compression sliders. Adobe Photoshop’s ‘Export As’ dialog offers advanced settings for JPEG quality and PNG compression.
The question is: which tools truly preserve your jawline? The answer lies in control. The best tools let you see the trade-off in real-time.
| Tool | Best For | Key Feature | Granular Control? |
|---|---|---|---|
| Hootsuite + Canva | Social media managers posting across platforms | Pre-set network dimensions | No |
| Sprout’s Asset Library | Brands with visual guidelines | Cloud storage & organization | Limited |
| Landscape (by Sprout) | Quick, free sizing headshot online | Focus on social media crops | Moderate |
| Squoosh.app | Tech-savvy users wanting precision | Live before/after comparison | High |
| Adobe Photoshop | Professionals editing the source file | Advanced format & quality settings | Very High |
Your permanent cheat sheet? Compress optimally before you upload. Use a tool that gives you visual feedback. Whether you’re adjusting the file format from TIFF to JPEG or shaving off kilobytes, your face should remain the priority. Don’t let a lazy compression algorithm betray your headshot sizing efforts. Take control. Your profile depends on it.
Tools & Resources
Your tool choice is more than just about speed. It shows who you are. Are you someone who likes to outsource tasks or someone who focuses on every detail?
Built-in Platform Saviors
Tools like Hootsuite and Sprout Social are smart shortcuts. They offer templates for all major networks. You don’t need to remember the LinkedIn photo size yourself.
For teams, these tools help keep things consistent. But they might make your brand feel a bit too uniform.
Third-Party Cavalry: Canva, Adobe, & The Niche Players
Outside tools offer more control. Canva makes design easy for everyone. Adobe Photoshop is for those who want precision.
Choosing the right headshot sizing and file format shows your style. Some prefer templates, while others like to customize every detail.
Your Permanent Cheat Sheet
Don’t worry about remembering every pixel. Just remember five key points. First, the aspect ratio is very important.
Second, make sure your image is at least 1080px on the shortest side. Third, keep your photo centered to avoid cropping issues. Fourth, always start with a high-quality master file.
Fifth, compress your image with care, not by default. This approach will help you adapt to any platform. A good headshot can really boost your career, as experts say. Learn more about it here. For new headshots, Aragon AI is a great starting point. Now you have everything you need. Crop your photos wisely.