

Your headshot is like a digital warrior. It fights battles before you even step into the ring.
Venture capitalists and clients judge you before they even read your LinkedIn bio. In 2025, being real is more valuable than ever.
A bad photo can make you look amateur. It’s not just about looks; it’s about winning. A poor image is as bad as using Comic Sans in your presentation.
We’ll show you why this matters. We’ll use facts to prove how important a good image is. Think of this as your prep before we create the perfect you.
Industry Standard Editing: What’s Included in Professional Retouching Services
Ever wonder why some entrepreneur headshots look effortlessly polished while others scream ‘amateur hour’? The secret lies in the scalpel, not the sledgehammer. When we talk about professional photo retouching, we’re not discussing the guy who just bought Photoshop last week. This is the difference between a tailor and someone who knows how to sew on a button. It’s a forensic analysis of your pixels.
High-end retouching operates on a layer of meticulous detail that basic editing software simply can’t touch. Think of it as micro-surgery for your image. Every adjustment is reversible. Every skin texture is preserved, not erased into a creepy, porcelain doll facade. This is the non-negotiable standard.
So, what’s actually in the toolkit? Let’s pull back the curtain.
Frequency Separation is the maestro’s first move. This technique splits an image into two layers: one for texture (like pores and fine lines) and one for tone and color. It allows a retoucher to smooth skin without making it look like plastic. You keep the humanity while losing the distractions.
Then comes Non-Destructive Dodge and Burn. Forget harsh contouring apps. This is the art of selectively lightening and darkening areas to sculpt the face with light itself. It adds depth and dimension that looks real because, technically, it is. It’s contouring for the digital age, without the orange streaks.
Lastly, Advanced Color Correction ensures your brand’s navy suit doesn’t magically render as purple on a monitor or in print. Consistency is king. This process calibrates colors to industry standards, ensuring your image looks perfect everywhere—from your LinkedIn profile to a billboard.
This approach treats each headshot as a unique asset, not a unit in a batch process. Why does that matter? Because you, the entrepreneur, are the brand. A generic, one-click-fix-all edit undermines that. It’s the equivalent of using a stock photo for your “About” page. It just feels off.
The industry standard for business photo editing is built on this philosophy of enhancement, not alteration. It respects the original photograph while elevating it to a professional standard. It’s the reason you look like the best, most credible version of yourself—not a filtered version of someone else.
Natural Enhancement vs Over-Processing: Maintaining Authenticity While Looking Polished
Have you seen a headshot that looks too perfect? It’s a warning sign. Today, authenticity is the ultimate currency in the professional world. A flawless face can’t seal the deal.
This isn’t about rejecting headshot editing completely. It’s about finding a balance. Think of it as showing your true self in the best light.

The key idea is simple: fix the temporary, keep the permanent. A bad pimple is temporary, but your natural sparkle is forever. Keep it safe.
Too much photo enhancement makes skin look fake. It loses all texture, like a bad TV show. In serious fields like law and tech, this look shows weakness, not strength.
To tell your retoucher what you want, be clear. Use the right words to show your true self.
| Aspect | Natural Enhancement | Over-Processing |
|---|---|---|
| Skin Texture | Softens minor blemishes; retains pores & natural variation. | Blurs into a featureless, plastic-like sheet. |
| Facial Features | Brightens eyes, subtly evens skin tone. | Reshapes jawlines, thins noses, alters bone structure. |
| Overall Vibe | You, on your best, most confident day. | An uncanny digital avatar of you. |
Your goal is to look polished, not plastic. The best headshot editing should make people say, “You look great,” not “What filter?” It’s about looking sharp, not like a costume. One builds trust, the other raises doubts.
It’s time to change. Ask for photo enhancement that respects your true self while making you stand out. In a world full of fake images, being real is the strongest move.
Color Correction and Grading: Ensuring Consistent Brand Colors Across All Images
Three-quarters of online shoppers leave a site if product colors are wrong. This should worry anyone checking their photos. If a sweater looks blue instead of navy, what does it say about your skin tone? Color fidelity isn’t a minor detail; it’s the bedrock of visual trust.
Entrepreneur image editing is key. It involves correction and grading. Correction makes sure colors are right—your navy blazer is really navy. Grading makes colors fit your brand’s mood. It’s like the difference between a lab report and a gallery.
A navy blazer looks stable and authoritative. A white background means clear and precise. But a greenish skin tone? It says “unwell” or “amateur.” Your skin tone is a key brand color. Would you let your logo print in the wrong color?
Inconsistency hurts a professional brand. Imagine your website, LinkedIn, and conference brochure showing your jacket in different blues. It looks chaotic and shows a lack of detail. If you can’t manage your own image palette, how can you manage my project? That’s what viewers wonder.
Professional photo retouching services treat your brand seriously. They make sure you look good in any light. The goal is to be consistent, from screens to mailers.
This isn’t just about looks. It’s about trust. Accurate colors show you’re cohesive and reliable. In a world where visuals are key, making sure your image is right is smart entrepreneur image editing. It’s basic business care.
Background Optimization: Clean, Professional Backgrounds That Don’t Distract
Ever seen a headshot with a lamp growing from someone’s shoulder? That’s background betrayal. Your backdrop should support you, making you the star without any distractions.
A messy bookshelf or an exit sign can be a big distraction. It’s like the Stanley Cup in the Game of Thrones throne room. Good background optimization is key in business photo editing.
The right background varies by platform. Your LinkedIn headshot and Instagram profile photo need different settings. Each platform has its own stage and audience.
| Platform | Recommended Backdrop | Vibe & Strategic Goal |
|---|---|---|
| Seamless neutral (white, gray, charcoal), softly blurred office environment | Corporate authority, trustworthiness, and polished competence. The focus is purely on your professional demeanor. | |
| Instagram / Personal Brand Site | Subtle textures (brick, concrete, wood), blurred creative spaces, clean colored walls | Innovative founder aesthetic, approachable creativity, and modern energy. It suggests context without clutter. |
| Corporate Website / Board Bio | Consistent branded color, ultra-clean studio backdrop | Uniformity, brand alignment, and executive seriousness. It eliminates all variables. |
Today, we prefer textured or softly blurred backgrounds over the old studio look. They add depth and context without distractions.
But what if your perfect shot was taken in a bad location? Photo enhancement can fix that. Experts can:
- Clean up dust, wires, or clutter from a wall.
- Even out uneven lighting or discoloration on a backdrop.
- Completely replace a distracting background with a clean, professional one.
This last technique is a game-changer. It saves a great photo from a bad setting. It’s not “fake” but about controlling the story, like a backdrop as a strategic branding tool.
The goal is a background that feels intentional. Whether it’s professional neutrality for LinkedIn or a cool texture for your startup, your backdrop should enhance your story. This careful choice is what makes a photo go from amateur to professional, the last step in business photo editing and photo enhancement.
Clothing and Hair Touch-Ups: Minor Adjustments That Make Major Impact
You’ve got the suit and the pose down, but that one flyaway hair is ruining your look. This is where headshot editing really shines. Think of your retoucher as a detail expert, ready to fix your image with a few tweaks.
They’re not changing your clothes or haircut. They’re just making sure what you chose looks perfect. It’s like having someone whisper, “your collar is folded,” before you go on stage.
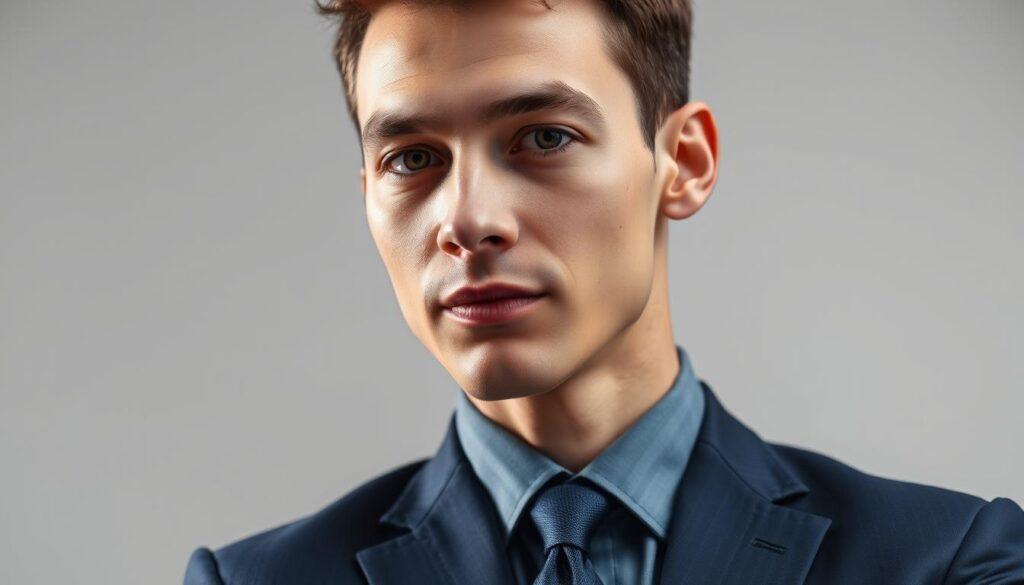
Let’s talk about your clothes. You picked solids and neutrals, avoiding loud patterns. But, fabric can wrinkle and threads can show. A good editor can fix these without changing the fabric’s look or feel.
Why does this matter? In today’s world, small details are noticed. A straight collar shows control. A clean jacket shows you’re detail-oriented. It’s all about sending the right message without words.
Now, let’s talk about your hair. The goal is to tame it, not change it. A stray hair is fixed, and an uneven beard is corrected. But, the hair should look natural and real.
The data shows that simple clothes work best for these small fixes. Busy patterns are hard to fix without making things worse. Stick to simple for the best results.
So, what’s the big deal about these small changes? It’s all about looking polished and paying attention to detail. Here’s a breakdown of why it matters.
| Flaw Type | Professional Fix | Outcome on Viewer Perception |
|---|---|---|
| Collar Wrinkle or Twist | Digital ironing to restore crisp lines without flattening fabric texture. | Signals order, preparedness, and sartorial care. |
| Stray Thread or Dust | Pixel-perfect removal using cloning and healing tools. | Elevates the image from “good” to “impeccable,” highlighting detail orientation. |
| Flyaway Hair | Strategic softening or removal of individual strands disrupting the hairstyle’s shape. | Projects a composed, put-together appearance, reducing visual distraction. |
| Uneven Facial Hair | Minor symmetry correction to align with the subject’s intended groomed look. | Enhances professionalism and intentionality in personal presentation. |
| Pattern Distortion (e.g., bent pinstripe) | Careful reconstruction of the pattern’s geometry to appear natural. | Maintains the integrity of the attire, ensuring it complements the overall look. |
This is what entrepreneur image editing is all about. It’s not just about looks. It’s about strategy. These small fixes help you look sharp and confident, not like you’re struggling with static cling.
Great headshot editing is all about being subtle. If someone notices the edit, you’ve missed the mark. The goal is to make you look sharp and natural, without anyone noticing the effort.
File Formats and Sizing: Technical Specifications for Different Marketing Applications
Using a huge TIFF file for your LinkedIn profile is like wearing a tuxedo to a coffee meeting. It’s too much and awkward. This is where professional photo editing meets the need for file specs.
Get it wrong, and your photo enhancement work will be a pixelated mess. It won’t load fast.
Resolution is key. For print, like business cards or magazines, you need 300 DPI. For screens, 72 PPI is standard. Think of DPI as the image’s intelligence. Print needs high density, while screens are okay with less.
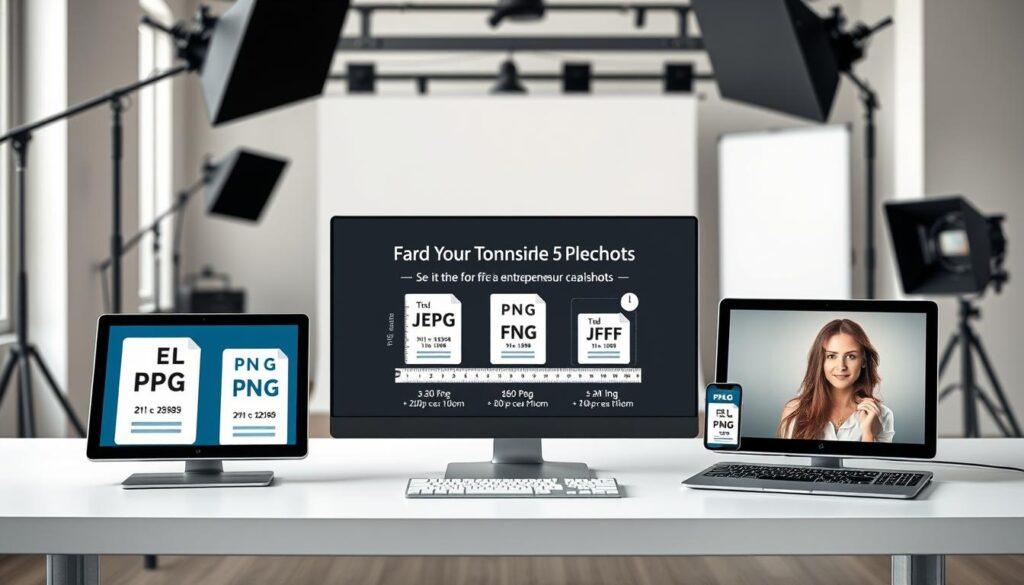
- JPEG (or JPG): It’s reliable and good for websites and social media. It’s compressed, so quality is lost each time you save it. Use it for most digital needs.
- PNG: It supports transparency. Great for logos or headshots with removed backgrounds. It’s also lossless, so quality stays the same.
- TIFF: It’s lossless and uncompressed, but makes huge files. Use it for high-end print jobs or to keep every edit for future professional photo editing. It’s like a digital vault.
Where do you send these files? Dimensions matter. A one-size-fits-all headshot doesn’t work in the digital world.
| Platform / Use Case | Recommended Dimensions | Ideal Format |
|---|---|---|
| LinkedIn Profile Picture | 400 x 400 pixels (min) | JPEG |
| Website “About Me” Portrait | 1000 x 1500 pixels | JPEG or PNG (if transparent) |
| Email Signature Image | 200 x 200 pixels | JPEG |
| Print Headshot (8×10) | 2400 x 3000 pixels (at 300 DPI) | TIFF or High-Quality JPEG |
The last step in photo enhancement is delivering the right files. A good photographer or editor will give you files for different uses. Your website image shouldn’t be the same as your print file.
Mastering these technical details is the final act of professional photo editing. It makes sure your image looks great everywhere.
Turnaround Expectations: Realistic Timelines for Professional Editing Services
Let’s get real. How long does professional photo retouching really take? In the world of entrepreneurs, time is very precious. You can’t launch a website with just any images.
Promises of “same-day delivery” do exist. They are like the Formula 1 pit crew of our industry. For a single, critical headshot, a top-tier studio might deliver in 24-48 hours. This is the fast lane.
But for most projects, the pace is more relaxed. A standard timeline of 3-5 business days is the best. It allows for detailed business photo editing without rushing.
Your project’s size is key. A solo headshot is quick. But a team of twenty is a big job. The timeline grows with the project.
Here’s a breakdown to set your expectations. Think of it as a menu for time.
| Project Type | Typical Turnaround | Key Factors | Best For |
|---|---|---|---|
| Single Headshot (Express) | 24-48 hours | Minimal retouching, urgent deadline | Immediate website launch, press release |
| Standard Portfolio (3-5 images) | 3-5 business days | Color correction, skin smoothing, detail work | LinkedIn profile, marketing materials |
| Team/Batch (10+ images) | 7-10+ business days | Consistency across shots, large volume | Company ‘About’ page, annual report |
| Complex Composite | Varies (quote-based) | Background replacement, advanced object removal | Special campaign visuals, product launches |
Three main things affect the time needed. First, complexity. Changing a background takes more time than just brightening a smile.
Second, volume. Editing ten photos isn’t ten times the work of one. But, doing the same thing for many photos is its own challenge.
Lastly, the revision cycle. This is the unknown factor. Clear feedback from the start helps avoid delays. A clear plan for revisions, like the one we suggest when setting realistic turnaround times for your, saves everyone stress.
The main point? Quality can be fast, but it’s not always instant. Rushed business photo editing often looks it. Planning your personal branding launch with these timelines in mind is smart.
This turns panic into a planned event. Your future polished self is worth the wait.
Revision Process: Working with Photographers to Achieve Desired Final Results
Think of the revision process as a dialogue, not demands. You’re the CEO of your image, and the retoucher is your COO. It’s a team effort where everyone works together to create something amazing.
The best headshot editing comes from back-and-forth feedback. You get a first draft and give clear, helpful comments. The editor then makes the changes you suggested.
Vague feedback is a problem. Saying “make me look cooler” is too vague. Good feedback is specific, like “soften the shadow under my jaw” or “adjust the blazer color.”
Knowing where the image will be used helps a lot. Is it for LinkedIn or a brochure? This info guides the editor on what to do with the entrepreneur image editing.
Clear communication turns a simple task into a partnership. You want to work with an editor who knows your style. Over time, you get consistent, great results without explaining everything.
| Type of Feedback | Vague Example | Actionable Alternative | Likely Outcome |
|---|---|---|---|
| Aesthetic Tone | “Make it pop more.” | “Increase contrast by 10% and add a subtle vignette to focus on the face.” | Precise adjustment matching your vision. |
| Skin Retouching | “Fix my skin.” | “Please reduce the shine on my forehead and soften the lines around my eyes, but keep all texture and pores.” | Natural, polished look that maintains authenticity. |
| Color Issues | “The colors look off.” | “The background has a green cast. Can we neutralize it to match the gray from our website hero image?” | Brand color consistency across all marketing materials. |
This table is more than a guide. It’s a way to improve how you work with your editor. It helps you become more involved in the creative process.
The real value is in creating a system that works well. Find an editor who understands you and hold onto them. This partnership makes your headshot editing a key part of your brand.
For more on working well with your editor, check out this efficient photo editing workflow guide. It shows how to go from a first draft to a masterpiece smoothly.
The revision process is where good images become great. It’s your chance to control your story. Don’t see it as a hassle. See it as the most important part of your work.
DIY Touch-Up Tips: Basic Editing Skills Every Entrepreneur Should Know
Let’s face it. Perfect photo editing isn’t always possible, like on a busy Tuesday morning. You might need a headshot for a podcast guest spot quickly. That’s when DIY skills come in handy.
Think of this as a first aid kit, not a full surgery. Your best tool isn’t an app. It’s being prepared. Drinking water and looking well-groomed helps. Wearing smooth clothes and good lighting also make a difference.
Your phone’s editor is powerful. Adjust the exposure to brighten your eyes. Increase contrast for a sharper look. Crop your photo to put your eyes in the top third. This is simple but effective.
The healing brush is for quick fixes. It can remove dust or stray eyelashes. But use it wisely. Too much editing looks amateurish. This is basic, not advanced.
Know your limits. You can adjust white balance but can’t create a consistent brand look. That’s for the pros.
The key skill is knowing what to fix yourself and what needs a pro. Your main brand photos should be done by experts. But for quick fixes, your phone’s editor is great.