
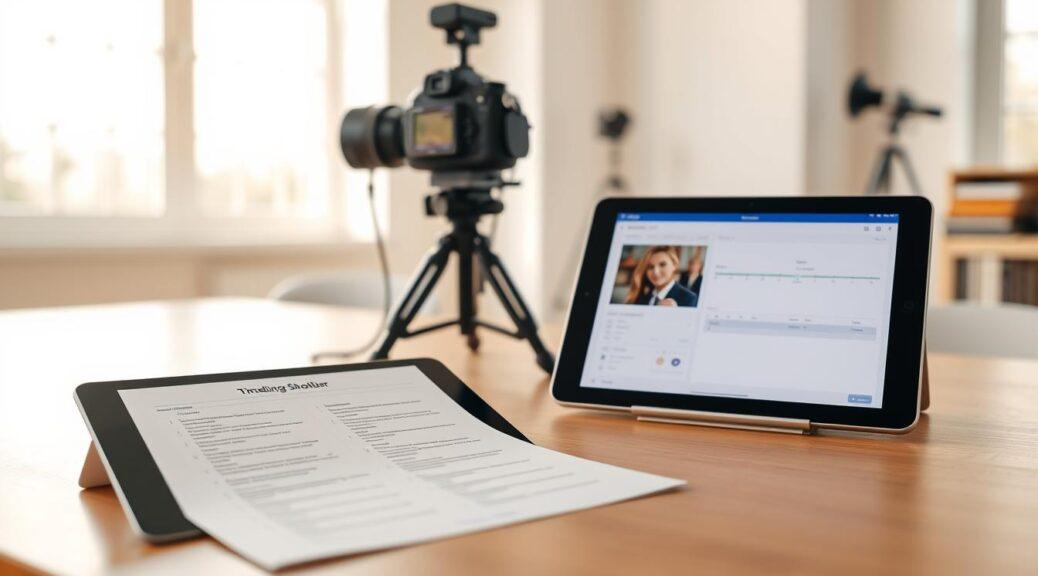
Clarity is key when it comes to headshots. Imagine going on a journey without a map—it’s confusing. Rachael Venema says, “Share Goals with Your Photographer.” Knowing your goals can turn a simple photo into a powerful tool.
Are you aiming for a CEO look for your website, or a friendly vibe for LinkedIn? Maybe you need a speaker sheet that shows you’re worth it, or a press kit that says you’re ready for anything. Even your email signature needs a clear visual strategy.
Before focusing on lighting or angles, audit your visual needs. List every place your headshot will appear—website hero, LinkedIn, speaker sheet, press kit, and email signature. This isn’t just a checklist; it’s your visual identity’s blueprint.
Each platform has its own style. A hero image should be wide and tell a story, while LinkedIn likes a tighter frame for trust. Knowing these needs early can save you from last-minute panic.
Think of your headshot strategy as your personal brand’s political platform. You wouldn’t campaign without knowing your audience, so don’t shoot without understanding your canvas. For more on creating a shot list, check out this guide. For branding consistency tips, explore this resource.
Prioritized Shot List: Headshot, Half Body, Three Quarter, Details, and Banner Crops
A well-structured shot list is key on headshot day. It’s like your legislative agenda, where each shot has a purpose. Start with the headshot: it’s essential. It shows you’re capable without any distractions.
Then, we have the half-body shot. This introduces your posture and wardrobe, showing you’re professional. The three-quarter shot reveals your stance and environment. It also shows if you’ve chosen comfortable shoes.
The details are important too. A shot of your hands can be key, like when you’re speaking. A close-up of an accessory or a book adds to your character. Lastly, the banner crops are wide shots for LinkedIn or websites. They’re the main visuals of your portfolio.
Prioritize your shots wisely. With only 20 minutes per person, you can’t do everything. Remember, the headshot is the most important. Get that right, and the rest will follow.
Make a detailed list of everyone and every shot you need. This list is your guide for the day. It helps avoid last-minute changes and keeps your session organized.
Outfit Order Logic: Bold Hero, Mid-Toned Neutral, Relaxed Close
Planning your outfit order can make your headshot session stand out. Your clothes are like your visual message—it speaks before you do. But, many don’t plan their outfits well, and that’s where the magic can fade.
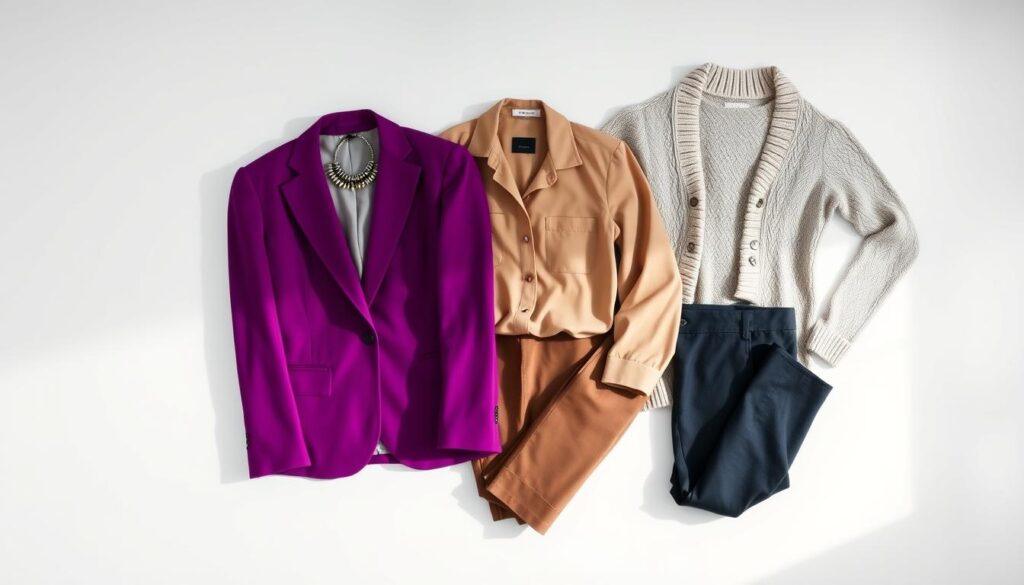
Begin with your bold hero outfit. This is your standout piece, like a bold blazer. It shows you’re confident and ready to go. You’re full of energy and haven’t yet gotten tired of smiling.
Then, move to mid-toned neutrals. Think of colors like charcoal, navy, or taupe. These colors show you’re a team player and know about growth. They’re your go-to for looking professional.
End with the relaxed close. This look is perfect for when you want to seem more approachable. Maybe you take off your jacket or roll up your sleeves. It’s like a casual Friday vibe that shows you’re smart.
This order makes sense psychologically. You start as the polished candidate, then show you’re a trusted advisor. And you end as someone relatable. Stay away from bright colors and busy patterns. Stick to solid colors that everyone can agree on.
Tell your team about this order early. A bad outfit can ruin a session. So, let’s keep things coordinated and classy!
Background Rotation: Pair Backdrops to Outfits and Brand Palette
Choosing the right backdrop is like picking the perfect frame for a masterpiece—it completes the picture. The background rotation should match your outfit and brand colors, creating a cohesive look. If your brand colors are cool blues and grays, a warm backdrop might clash. Aim for a match instead.
A bold outfit looks great against a white or charcoal background. A mid-toned suit shines against a muted, environmental backdrop. Think blurred bookshelves or a chic office space. This suggests you’re well-read.
Before the big day, scout your locations. Have multiple seamless paper rolls or canvas options ready in a studio. If shooting on-site, find three distinct areas: formal, semi-formal, and casual. Plan your background rotation carefully to avoid wasting time.
The right backdrop can make your headshot stand out. So, choose wisely. It’s a key part of your visual story.
Time Math Per Look: Change Room Access, Hair Touch-Ups, and Breaks
In the world of headshots, time is precious. You can’t waste it. Planning a successful session needs more than a good camera and a smile. You must plan with the precision of a Swiss watchmaker.
Let’s break it down. For each look, you need to allocate:
- Shooting time: The actual time spent capturing the image.
- Change buffer: The time it takes to switch outfits, which can easily consume 15 minutes if your change room is less than ideal.
- Hair and makeup touch-ups: A quick fix after each look is essential to maintain that polished appearance.
- Breaks: A 10-minute reset every hour is critical to keep your subjects fresh and engaged.
Rachael Venema advises scheduling time wisely. For multiple looks, 5 minutes per look is far from enough. It’s more like 45 minutes with all the buffer times.
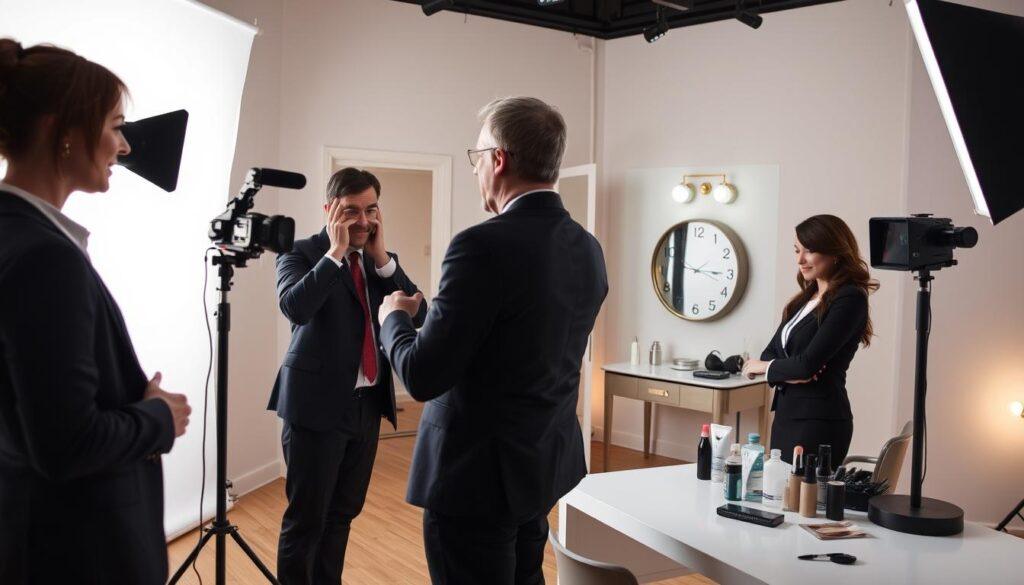
A private, well-lit change room is essential. If your subject has to go to a public restroom, you risk losing momentum. They might return looking like they’ve just run a marathon.
Remember, hair and makeup touch-ups should happen after each look, not just at the start. A shiny forehead or a collar gone rogue can change a confident CEO into a sweaty intern quickly.
And don’t forget about breaks. They’re not just a luxury; they’re a right. Add 20% to your timeline to make sure your session feels relaxed but runs smoothly. Your goal is to create a session that feels leisurely but runs like a Swiss train.
Contingencies: Tech Delays, Traffic, and Late Arrivals Buffers
Headshot sessions can have surprises. It’s key to have a plan for unexpected things. Think of these plans as your safety net against possible disasters.
Tech delays can sneak up on you. Imagine your strobe not working or the tethering cable not cooperating. Be ready with backup gear like extra cameras, lenses, batteries, and memory cards.
Traffic and late arrivals can mess up your plans. Picture one executive stuck in traffic causing delays all day. Start with a 30-minute buffer and add 15-minute cushions between each person. This way, you’re prepared for any arrival time.
Don’t forget about the human side. Someone might forget their outfit or need emergency makeup. Keep safety pins, lint rollers, blotting papers, and a steamer in your kit. And remember, it’s okay to politely ask for some time to work.
These buffers are not just extra time; they’re your strategic reserve. You might not need them, but when you do, you’ll be ready. In photography, planning for the unexpected is vital.
Live Review Rhythm: Star Rate, Select, Keep Momentum and Morale High
Getting the perfect headshot is more than just clicking a button. It’s about creating a dynamic rhythm during the session. This rhythm keeps both you and your subject engaged and energized.
The live review is like the exit poll of your headshot session. It gives immediate feedback on whether you’re on track or need to change. But, an unstructured review can quickly turn into chaos.
To avoid chaos, establish a clear rhythm. Shoot a burst of images, then review them quickly using a star rating system. Use one star for “absolutely not,” three for “maybe,” and five for the best shots.
Keep the momentum going! Don’t let your subject dwell on a bad frame. Quickly pick the best shots and move on. Remember, keeping morale high is key.
Engagement is vital. Always chat with each person before taking their photo. Ask them what they want the photo to say about them. This helps them relax and find their story.
Compliment them genuinely. A little ego boost can go a long way. Say something like, “That slight head tilt? That’s your executive order face!”
Music can also boost energy, but choose wisely. Avoid anything too polarizing. You want a calm, enjoyable atmosphere, like a well-moderated debate.
| Star Rating | Description | Action |
|---|---|---|
| 1 Star | Absolutely Not | Move on immediately |
| 3 Stars | Maybe | Consider for further review |
| 5 Stars | This is the One! | Keep for final selection |
File Naming Notes for Retouching and Post-Production
File naming is more than just a task; it’s key to your visual story. Ignore it, and you might get lost in a sea of “IMG_7483” images. A clear naming system is vital to keep things organized.
Start with the subject’s name, the outfit code, the background rotation, and the crop type. For instance, Smith_Jane_Outfit01_WhiteBG_Headshot_Select tells you Jane wore her first outfit against a white background for a headshot. This makes things clear.
Background rotation matters a lot. It tells retouchers if the background needs cleaning. Is it a clean paper or an environmental shot with a coffee cup? Knowing this helps match outfits with the right backgrounds for future shoots.
- Use a suffix for selects: _FINAL or _RETOUCH to mark the final images.
- Make a template before the session and share it with your team.
- Rename batches right away during the shoot to make post-production smoother.
This isn’t just about being precise; it makes post-production easier. Your future self, working late in Lightroom, will appreciate it. They’ll nod in relief.
Aftercare: Backup, Selects, Invoicing, Delivery Windows, and Usage Guide
After you’ve finished shooting, it’s time to focus on the next steps. The aftercare process can make or break your session. Let’s go through the key steps to ensure your session’s success.
1. Backup Your Files
First, back up your files like you’re protecting your most precious work. Think of it as an insurance policy for your creativity. Aim for three copies:
- One on your working drive
- One on an external hard drive
- One in the cloud
Having a backup plan is your safety net. It prevents losing your work if a drive fails.
2. Cull and Deliver Selects
Next, it’s time to choose the best shots and deliver them. Don’t overwhelm your client with too many photos. Choose 20-30 images per person and organize them well. This shows your professionalism and saves time.
3. Invoicing
Send invoices quickly and professionally. Do it while the client is happy with the work. A timely invoice can make the experience positive and encourage payment.
4. Delivery Windows
Set clear delivery times for your work. Tell clients when they can expect their photos. For example:
- Web-resolution gallery: within 5 business days
- High-resolution retouched files: within 10 business days
Clear timelines prevent misunderstandings and keep everyone on the same page.
5. Usage Guide
Lastly, create a usage guide. It explains where and how the photos can be used. It also covers any attribution needs and the license’s lifespan. It’s like a rulebook that protects both you and your client from legal issues.
In summary, aftercare is more than just a checklist. It’s the final step that ensures a smooth transition and leaves everyone satisfied.
Printable Timeline Template and Look Planner
Get ready for a headshot session with a solid plan. A printable timeline template is your key to success. It’s a one-page guide that organizes your session, marking every 15-minute block from start to finish.
It has columns for the subject’s name, outfit order, and background changes. It also includes buffer times to avoid any delays. This ensures everything runs smoothly.
The look planner is a game-changer. It lets you sketch or note each outfit, starting with the bold hero look. Then, you move to the mid-toned neutral, and finish with the relaxed close.
There’s space for accessory notes and hair and makeup details. And don’t forget a morale-boosting affirmation to help everyone feel at ease. After all, the camera can be a bit scary.
Print this template and share it with your team. In today’s digital world, a physical copy commands respect. When tech fails, your paper timeline is like a reliable map.
Download, customize, and make your headshot session run like clockwork. If political campaigns can stick to a tight schedule, so can your portrait journey. With a good plan, you’re not just taking pictures; you’re telling a story that needs to be shared.