
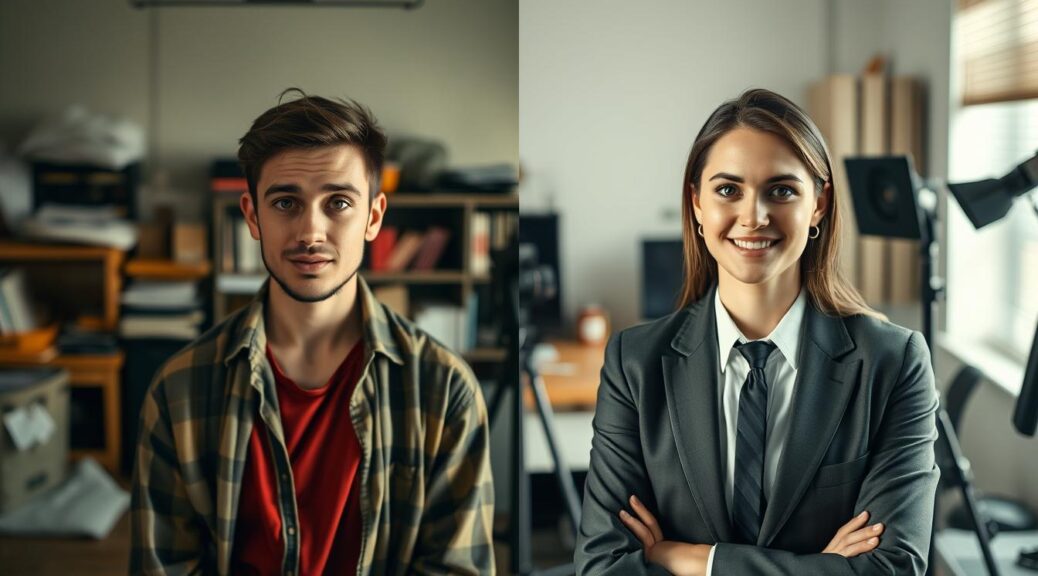
Welcome! We often get asked: “Should I try this myself, or is it time to call in a professional?” It’s like choosing between cooking at home or eating out. Both have their right time.
In this guide, we’re here to guide you. We’ll show you when a DIY headshot is a smart choice. For example, updating your company’s directory or making your startup’s first “About Us” page.
We’ll also highlight common mistakes that can make your photo look amateur. These mistakes can hurt your professional image.
By the end, you’ll have a clear checklist. You’ll know how to choose the best option for your goals and budget. Let’s start!
DIY Setup: window light diagram, reflector, tripod, background hacks
Ready to capture a stunning professional photo? Your first tool is free and already installed: a window. Natural window light is a photographer’s secret weapon. It provides a soft, flattering glow that minimizes harsh shadows.
Position yourself correctly. Stand about three feet from the window. Turn your body at a 45-degree angle to the glass. Now, turn your face towards the light. This simple position creates beautiful dimension on your face.
See a shadow on one side of your nose? That’s perfect! You can fill it in with a reflector. No professional gear? No problem. A large piece of white poster board or a white bed sheet works surprisingly well. Just hold it opposite the window to bounce light back onto your face.
Next, let’s talk stability. A tripod is non-negotiable for sharp, blur-free photos. It lets you frame your shot perfectly and use your camera’s timer. You can use a small tabletop tripod for a phone or a full-size one for a DSLR.
This brings us to the big debate: smartphone vs DSLR. Which should you use? Modern smartphones are incredible for convenience and portability. A dedicated DSLR camera offers more control over settings and image quality. Your choice depends on your goals and budget.
| Feature | Smartphone Camera | DSLR Camera |
|---|---|---|
| Best For | Quick shots, social media, beginners | Full control, print quality, low light |
| Ease of Use | Very high; auto mode is excellent | Steeper learning curve |
| Image Sensor | Smaller, great for well-lit scenes | Larger, captures more light and detail |
| Cost Consideration | You already own it! | Requires separate investment |
For most online profiles, a current smartphone camera is more than enough. If you need prints or work in challenging light, a DSLR shines. Don’t get stuck overthinking the smartphone vs DSLR choice. Start with what you have!
Lastly, tackle your background. A cluttered room ruins a professional look. Use these simple hacks:
- Solid Wall: A clean, neutral-colored wall is a classic, free backdrop.
- Blanket or Duvet: Hang a solid-colored blanket smoothly behind you.
- Fabric Panel: A large piece of wrinkle-free fabric, like muslin, attached to the wall.
Remember, the goal is to keep the focus on you. With window light, a DIY reflector, a tripod, and a simple background, you’ve built a powerful studio. Now you’re ready to shoot!
Camera/Phone Settings, Framing, and Self-Timer Apps
Getting the right settings can make a big difference in your photos. Think of your camera or phone like a musical instrument. You need to tune it first to get the best sound, just like you need the right settings for a great photo.
Most of us carry a smartphone, and its camera is more powerful than you might think. Let’s explore how to use it to its fullest.
Portrait Mode versus Standard Photo is your first choice. Portrait mode gives you a beautiful blurred background, making you stand out. It’s perfect for professional photos. Standard photo mode lets you control the whole image if you want everything in focus.
Pro tip: Turn on the grid lines in your camera settings. These lines help you follow the rule of thirds. Place your eyes along the top horizontal line for a balanced look.
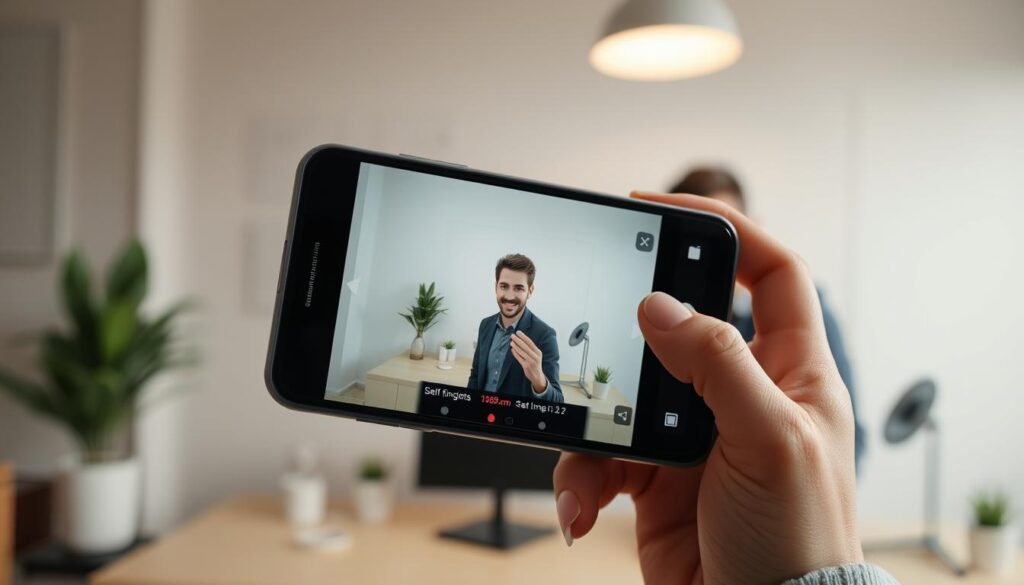
If you have a DSLR, don’t be scared of manual mode. We’ll keep it simple with two key settings:
- Aperture Priority (A or Av mode): This lets you control the depth of field while the camera handles shutter speed. Set it between f/2.8 and f/5.6 for a soft, professional background blur.
- Flattering Focal Length: Use a 50mm to 85mm lens. These lengths mimic how the human eye sees faces, avoiding distortion.
Self-timer apps are a game-changer. Trying to sprint back to your pose after hitting the timer on your camera is awkward. Modern apps solve this perfectly!
The best self-timer apps let you see yourself on your phone or computer screen. You can tap to shoot remotely, adjust poses in real time, and take bursts of photos. This eliminates the “sprint and smile” panic completely.
Here’s what to look for in a good self-timer app:
- Live preview on your device screen
- Tap-to-capture or voice-activated shooting
- Interval timer for taking multiple shots automatically
- Simple interface that doesn’t require technical expertise
These tools are why many creators are mastering DIY photography. For inspiration, check out how this creator uses simple apps to achieve professional results from home.
When you can see yourself and control the shot remotely, your expressions become genuine. You’re not just posing—you’re interacting with the camera naturally. This relaxed confidence shines through in every frame.
Remember: your gear captures the image, but your settings capture the emotion. Dialing in these details turns technical adjustments into artistic expression. You’re not just taking a photo; you’re crafting your professional image.
Editing Workflow: color, crop, blemish cleanup, export sizes
This stage is all about making your photos look great and ready for any platform. We’re not using complex Photoshop here. This is a simple, effective way to edit your photos on your phone or computer.
First, let’s talk about color. We want your skin to look natural. If your photo looks too orange or blue, adjust the “White Balance” or “Temperature” slider. This will make your whites look neutral, making you look vibrant and not washed out.
Next, let’s work on composition through cropping. Use the rule of thirds grid in your editor. Place your eyes near the top third line. Crop tightly to remove distractions. A classic headshot crop goes from the mid-chest up, with a little space above your head.
For blemish cleanup, remember to enhance, not transform. Use a “healing” or “spot removal” tool. Focus on temporary flaws like a stray hair or a one-day pimple. Avoid smoothing out all texture—those little details keep you looking like you!
Now, let’s create your deliverables. These are your final, polished files. You need different versions for different jobs. Think of them as tools in your professional kit.
Your headshot might be used for:
- Your LinkedIn profile
- Your company website bio
- A printed business card or brochure
- A speaker portfolio or conference materials
Here’s a simple guide to exporting the right file every time:
| Platform | Recommended Size | Best File Type | Key Notes |
|---|---|---|---|
| LinkedIn/Website | 1500 x 1500 pixels | JPEG (High Quality) | Keeps file size small for fast loading. RGB color mode. |
| Business Card (Print) | 2″ x 2″ at 300 DPI | TIFF or High-Res JPEG | 300 DPI ensures sharp print quality. Use CMYK if sent to a professional printer. |
| Speaker Portfolio | Varies; often 8″x10″ at 300 DPI | JPEG or PNG | Check the specific organizer’s requirements. These are high-stakes deliverables. |
When you export, save a master high-resolution file first. Then, create smaller, web-friendly versions. Name your files clearly, like “YourName_Headshot_LinkedIn.jpg”.
Following this workflow ensures you have professional, platform-ready deliverables at your fingertips. You’re not just editing a photo—you’re building a versatile professional asset!
Pro Workflow: prepro, lighting, tethering, backup, retouch standards, licensing
Getting a professional headshot is more than just a photo. It’s about the hard work done before and after the camera clicks. When you hire a pro, you’re getting a whole system that makes sure you look great. Let’s explore each step so you know what you’re getting.
Pre-Production Consultation: Defining Your Brand Vibe
It begins with a chat. A pro photographer will talk with you about your goals and brand. They’ll help pick your wardrobe and colors that match your skin. They’ll even help you choose the right expression.
This planning makes sure the shoot day goes smoothly. And the photos will be uniquely you.
Controlled Lighting Setups: Consistency in Any Weather
No need to wait for the sun! Pros use special lights to make sure you look great every time. This lighting makes your face look sharp and your eyes sparkle. It works day or night, rain or shine.
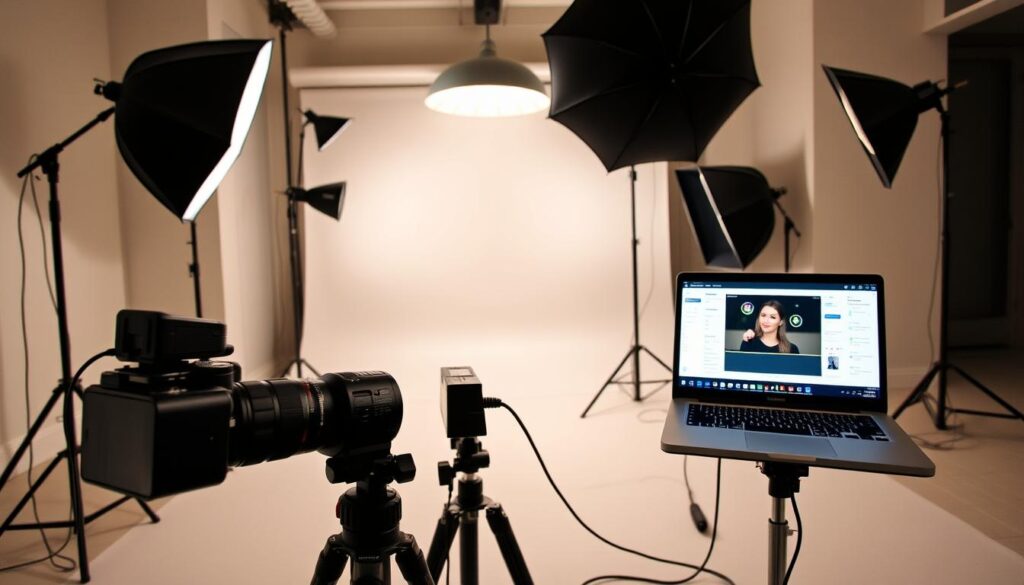
This is a big deal. Your camera is connected to a laptop or monitor during the shoot. You see each photo big and clear right away. This lets you fix anything quickly and feel sure you got the best shot.
Rigorous File Backup Protocols: Your Images Are Safe
Pros hate losing photos. That’s why they have a strict backup plan. Photos are saved to two cards in the camera, then to a hard drive and another backup drive. Some even use cloud storage for extra safety. Your photos are safe at every step.
Industry-Standard Retouching: Enhancement, Not Alteration
Good retouching makes you look your best without changing who you are. A pro will fix small issues and soften lines. They aim to enhance your natural look, not change it.
Understanding Usage Licenses: What You Can Do With Your Photos
When you get your photos, they come with a license. This tells you how you can use them. Most licenses let you use the photos on websites, social media, and more. But they usually don’t let you sell them. Knowing this helps avoid legal problems.
To see the difference between DIY and pro, check this comparison:
| Workflow Step | DIY Approach | Pro Approach | Key Difference |
|---|---|---|---|
| Pre-Production | Self-guided planning, online research | Guided consultation defining brand and goals | Strategic direction vs. trial and error |
| Lighting | Natural light, dependent on time/weather | Controlled studio lighting, consistent results | Unpredictable vs. reliable quality |
| Image Review | Check small camera screen after shooting | Instant tethering to large monitor | Delayed feedback vs. immediate correction |
| File Backup | Manual copying to a single computer | Multi-step, redundant system during and after shoot | Higher risk of loss vs. guaranteed safety |
| Retouching | Basic app filters, can look over-processed | Subtle, skin-preserving enhancement by an expert | Generic editing vs. customized, natural polish |
| Licensing | You own the file, but usage is often undefined | Clear written license outlining permitted uses | Potential confusion vs. clear legal rights |
Knowing about the professional workflow shows you’re investing in quality. You’re getting expertise, technology, and peace of mind. It’s a smart choice for looking great and keeping your photos safe for years.
ROI Math: profile views → connection accept rate → interview rate; sample calculator
The real cost of a headshot isn’t just the session fee. It’s the missed connections and interviews without one. A great headshot is not an expense—it’s an investment in your professional currency.
Measuring this investment’s return is simple. Think of it like a marketing campaign for you. A polished image boosts profile views. More views mean a higher connection request acceptance rate. This leads to more interviews or client inquiries.
Let’s use a sample ROI calculator framework. You can plug in your own numbers later. We’ll use hypothetical figures to show the point.
Assume a professional headshot costs $300. Before, you might get 50 profile views a month with a 10% connection accept rate. That’s 5 new connections.
After a pro headshot, views jump to 80 per month. Your accept rate might climb to 20%. This makes your profile look more trustworthy and approachable. That’s 16 new connections—more than triple!
Imagine 5% of your new connections lead to a substantive conversation or interview. With 5 connections, that’s 0.25 opportunities. With 16 connections, that’s 0.8 opportunities. Over a year, this small difference compounds into several real interviews or projects.
Here’s a simple way to run your own ROI calculator:
- Estimate your current monthly profile views and connection accept rate.
- Project a realistic improvement for each after a headshot upgrade.
- Apply your personal “opportunity conversion rate” (how many connections turn into interviews).
- Multiply by the value of one interview or project to your career or business.
Suddenly, that $300 investment can show a return worth thousands. This isn’t just about feelings—it’s about connecting visual quality to tangible outcomes. Your image works for you 24/7, opening doors you might not even see.
Use this ROI calculator mindset to see your headshot as a strategic business tool. The math makes the decision clear.
Case Studies: DIY upgrade vs pro session outcomes
Let’s look at real examples of how two different headshot approaches worked for professionals. Their experiences show the outcomes you might see, whether you choose to do it yourself or hire a pro.
Alex, a marketing manager, went for a DIY upgrade. They followed the guide’s tips, setting up near a big window with a reflector and a tripod. They spent a whole Saturday getting the shots right.
The before photo was dark and cropped. The after photo was clear, bright, and true to Alex. The results? Alex’s LinkedIn views went up 30%, and they got two more interview callbacks.
Alex also felt more confident. “I felt like my photo really showed who I am professionally,” they said.
Then there’s Sam, a freelance UX consultant who chose a pro session. The photographer took care of everything, from location to lighting, to capture Sam’s authority.
Sam’s pro shot was much better than Alex’s DIY one. The outcomes for Sam were amazing.
Premium clients started reaching out more. Sam even got a keynote speaking gig, thanks to their “commanding and professional profile.” Their confidence was completely renewed.
So, what do these case studies teach us? Both DIY and pro headshots can improve your image. A DIY effort can make a big difference from a casual selfie.
But a pro session can give you even better results, often faster and with guaranteed quality. It’s like the difference between building a shelf yourself versus hiring a pro carpenter.
Professional photos can help you achieve bigger goals, like improving your executive presence. For more on that, check out our guide on executive presence workshops.
Your choice depends on what you need. Do you want a good improvement, or a clear edge over others? Both paths are successful, but in different ways.
Decision Matrix & Budget Planner
ou’ve gathered all the insights. Now, let’s turn that knowledge into a clear plan. Use this simple decision matrix: ask yourself three questions.
Is this for a high-stakes job hunt or a corporate profile? Is it for your multi-person startup’s “About Us” page? What is your timeline and comfort level with technology?
If your answers lean toward high visibility and immediate need, a professional photographer is your best path. For personal branding updates or testing a new look, a polished DIY approach can work wonderfully.
Let’s talk about pricing and budgeting without stress. Professional headshot sessions vary by location and experience, often costing $300–$800 with full licensing — a strategic career investment.
Your DIY budget is different. Allocate funds for key gear that elevates your setup. A sturdy Manfrotto tripod or a Godox ring light can be a game-changer for under $100. Plan your spend based on what you already own and how much support you need.
Much like global collaborative art projects, where multiple artists bring resources and expertise together to create something extraordinary, you can combine professional support and DIY experimentation. Whether you save for a pro session or strategically upgrade your DIY kit, this approach ensures your headshot is polished, effective, and fully aligned with your personal brand. You’re ready to take your next best shot with confidence.