
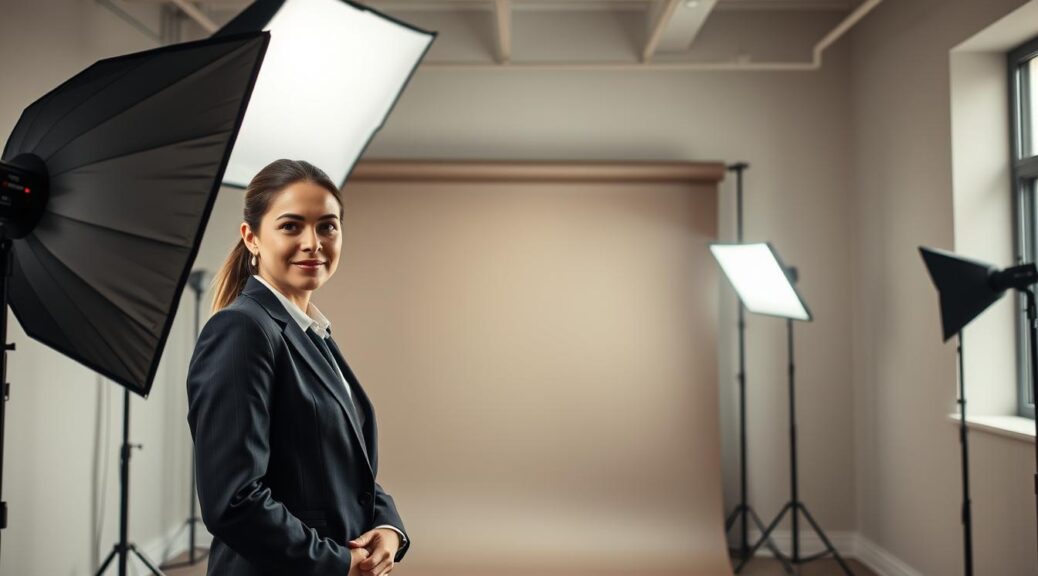
Let’s be honest: your professional portrait can either look like a Rembrandt masterpiece or a mugshot. I’ve analyzed enough LinkedIn profiles to know most people treat illumination like tax forms—something to dread and avoid.
Natural illumination is the ultimate free agent. It’s democratic, accessible, and flattering—when conditions align. Think of it as nature’s softbox, perfect for creating organic, approachable headshots.
Studio setups, on the other hand, offer total control. With strategic studio arrangements, you can sculpt light like a quant models stock portfolios. From single-source simplicity to multi-light complexity, it’s about precision engineering your image.
Whether you’re leveraging window glow or orchestrating strobes, mastering these methods transforms your headshot photography from amateur hour to professional power play.
Most Flattering Angles
Finding your best angle is not just about looks. It’s about making a good impression. It’s like smiling for a photo, but with more thought.
Chin positioning is key. Too high and you seem too proud. Too low and you look down. The perfect spot is like holding a grapefruit. It makes your neck look longer and your jawline clearer.
Shoulder adjustments are like redrawing district lines. A small change can make a big difference. Turn one shoulder towards the camera to add depth and avoid a flat look.
Eye contact is important. Look straight at the camera, but think of someone behind it. This shows intensity without being too strong. And don’t forget to blink.
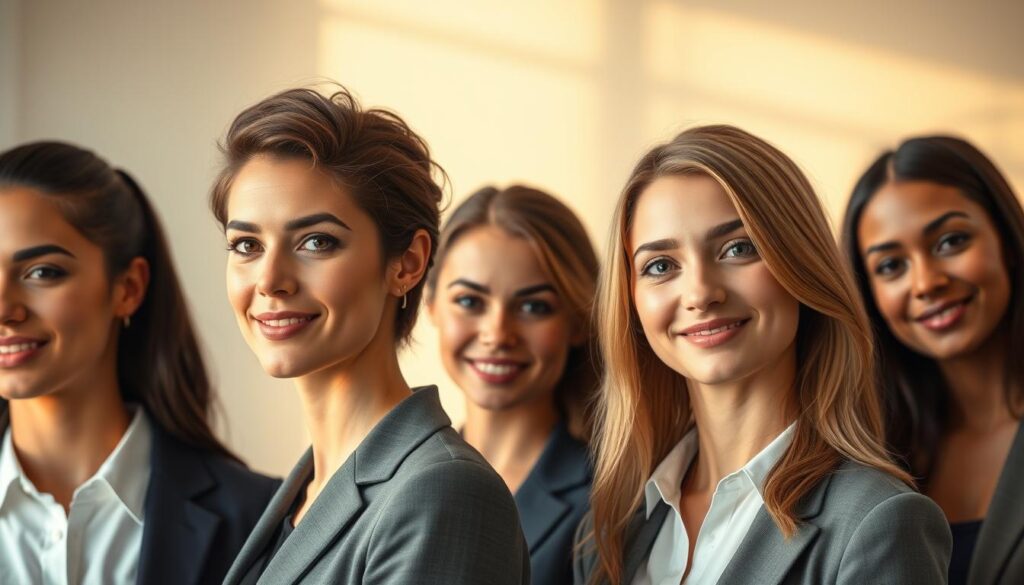
The 15-degree rule is very effective. Turn your body a bit towards the camera while keeping your face straight. This makes you look slimmer and more professional.
The “Obama lean” is a great pose. Lean forward slightly to show you’re engaged and in charge. It helps avoid double-chin issues and shows you’re listening.
Use these posing tips with the right lighting tips for the best results. Place your main light source above your eyes and off to the side. This adds depth and makes your features stand out.
Good angles are all about telling the right story. Master these tips and you’ll look more presidential than many real presidents.
Avoiding Shadows & Glare
Let’s talk about the political parties of headshot photography – shadows and glare. Unlike our two-party system, we actually want both sides to lose here. I’ve seen more ruined portraits from bad shadow management than failed policy initiatives in Congress.
Reflectors are your bipartisan solution. Think of them as the fact-checkers of photography. They don’t eliminate shadows entirely – that would be like claiming political ads are always truthful. Instead, they manage light distribution with the precision of a seasoned campaign strategist.
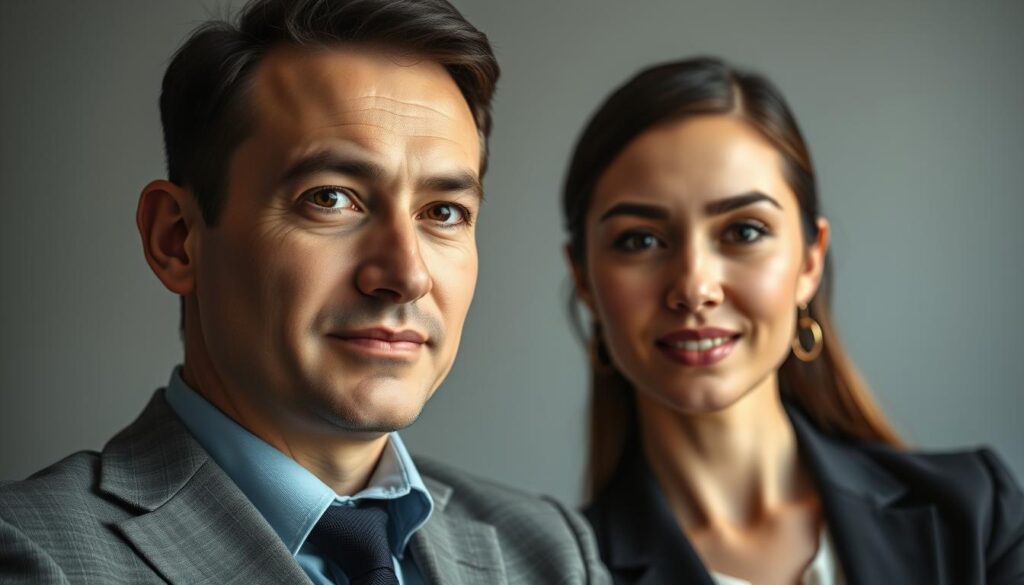
The four shadow types that plague headshots deserve their own super PACs:
- Under-eye darkness – The conspiracy theorist of shadows
- Chin shadows – The double-chin democracy nobody voted for
- Nasolabial folds – The attack ads of aging
- Neck shadows – The gerrymandering of jawlines
Distance is your secret weapon. Moving lights further back creates softer shadows – like a politician backing away from a controversial statement. Closer lights? That’s when you get the harsh glare of a press conference under hot lights.
Background separation matters too. It’s the electoral college of headshot photography – often misunderstood but critical for proper representation. Keep your subject at least three feet from the background to avoid shadow contamination.
Understanding the angle of incidence is like understanding political polling data. Get it wrong, and you’re looking at a landslide defeat in photo quality. The right angle makes all the difference between statesman and conspiracy theorist.
| Shadow Type | Common Causes | Quick Fixes | Pro Solution |
|---|---|---|---|
| Under-eye | Overhead lighting | White reflector below | Fill light at 45 degrees |
| Chin shadows | Light too high | Lower main light | Butterfly lighting setup |
| Nasolabial | Hard light source | Diffusion material | Softbox at eye level |
| Neck shadows | Light too close | Move light back | Backlight separation |
Your posing technique can make or break shadow management. Slight chin adjustments work like political messaging – sometimes a tiny tilt changes everything. Ask your subject to imagine they’re listening to a moderate political candidate. That natural engagement minimizes shadow drama.
Remember: perfect shadow control is like bipartisanship – rarely achieved but always worth pursuing. The goal isn’t shadow elimination but shadow management that would make a seasoned political operative proud.
Photographer’s Setups Explained
Lighting setups are like political systems, ranging from simple to complex. Each setup has its own philosophy for headshot photography. They balance simplicity and control differently.
The one-light wonder is like a libertarian approach. It keeps things simple by using just one light source. This could be a speedlight or a studio strobe with a modifier.
Choosing this setup is smart because it’s easy to carry and affordable. It teaches you the basics of lighting tips. You learn to work with shadows, which can look surprisingly professional.
The two-light setup is like a bipartisan compromise. It adds a fill light or hair light to your main source. This setup appeals to both those who like simplicity and those who want perfection.
This setup balances shadows well without losing dimension. It’s great for corporate headshot photography where you want natural yet polished results.
The three-light triangle setup is like democratic socialism in lighting tips. It uses key, fill, and hair/rim lights together. This gives you the most control but needs more equipment.
Professional studios often use this for high-end headshot photography. It creates detailed lighting that makes subjects stand out. The triangle setup is ideal for many professionals.
What matters most is your philosophy, not just your equipment. You can get great results with simple gear if you know the basics. The key is to match your setup to your needs and budget.
For one-light setups, consider:
- Speedlight or monolight with softbox
- Light stand and trigger system
- Reflector for bounce options
Two-light systems add:
- Second light source
- Additional light stand
- Grid or snoot for hair light
Three-light configurations require:
- Third light with appropriate modifier
- Background light option
- More sophisticated light controls
Each setup has its own benefits for different headshot photography needs. The table below shows the main differences:
| Setup Type | Political Analogy | Ideal For | Equipment Needed | Skill Level |
|---|---|---|---|---|
| One-Light | Libertarian | Portraits, beginners, travel | 1 light + modifier | Beginner to Intermediate |
| Two-Light | Bipartisan | Corporate, editorial, commercial | 2 lights + modifiers | Intermediate |
| Three-Light | Democratic Socialist | Studio, high-end, fashion | 3+ lights + modifiers | Advanced |
The best lighting tips are to start simple and add more as needed. Your setup should match your vision, not the other way around. Great headshot photography comes from understanding light, not just owning gear.
Remember, these are just frameworks, not strict rules. The most creative lighting tips often come from bending these rules. Your perfect setup might mix elements from different approaches.
Whether you have a full studio or just a speedlight and a dream, these setups are the foundation for professional headshot photography. The light should serve the subject, not the other way around.
DIY Headshots
Forget what you’ve heard about needing big money for professional photos. The DIY headshot movement is here and it’s easy to get into. It’s as simple as grabbing a coffee.
I’ve made great portraits with everything from fancy strobes to desk lamps. Using aluminum foil as reflectors is like a MacGyver trick in headshot photography.
The key isn’t expensive gear—it’s knowing how to use light. Natural light from windows is your best ally. Stand in front of a big window during the golden hour. This soft light beats most studio setups.
Your smartphone camera is better than you think. Modern phones take amazing photos. Add a tripod and remote shutter for steady shots. No remote? Use the timer—it’s like voting by mail for photos.
Good posing makes all the difference. Angle your shoulders away from the camera for depth. Keep your chin down to avoid double chins. It’s like standing up straight in politics.
Backgrounds are important. A simple wall works best. Avoid patterns that take away from your face. It’s like choosing a running mate who complements you.
Reflectors are cheap but powerful. White poster board or silver foil reflect light well. Place them opposite your light source to fill shadows. This is DIY headshot photography at its best.
Your expression tells your story. Practice real smiles in the mirror. Think of something that makes you genuinely happy. Being real beats fake every time.
Editing apps can make your photos better. Free apps like Snapseed or Lightroom Mobile offer basic tweaks. Adjust exposure, contrast, and sharpness a bit. Good editing should be subtle but noticeable.
The right posing angles make every face look good. Shooting from slightly above reduces the nose and highlights the eyes. It’s a trick used by politicians and photographers.
Consistency is key for your portfolio. Use the same setup for all shots. This creates a cohesive look, like staying on message.
DIY headshot photography shows you don’t need a big budget for great photos. With smart lighting, posing, and simple gear, you can match studio-quality work.
The revolution won’t be televised, but it might be beautifully captured with a smartphone and clever lighting.
Conclusion
Mastering headshot photography is more about psychology than just technical skills. Your final image tells a story before you even speak. The right lighting can turn an okay photo into something truly special.
Effective posing makes you look like the authority in your photo, not just another person. Use the right lighting and posing to tell your story. I’ve seen corporate headshots that look like they belong on a politician’s campaign.
Remember, controlling your light and angles is key. Every headshot shapes how people see you. Your posing and lighting say more than your resume. Now, go create headshots that impress even the most image-conscious campaign manager.