

In today’s world, virtual headshots are key. Over 90% of communication is non-verbal. A good video can make or break your image.
Ever had a Zoom call turn into a mess? It’s like a debate where everyone’s on mute. Quick calls are okay, but for virtual headshots, quality matters.
Think about the difference between reading a book and watching an interview. The interview lets you catch subtle cues. Good lighting, audio, and backdrops are vital for these moments.
The move to blended work isn’t just a trend. It’s a smart strategy. Knowing how to use your medium can boost your virtual presence.
Camera Choices: Laptop Webcam, Phone, DSLR as Webcam, Adapters
In the world of remote work, the right camera can make a big difference. Your laptop’s camera is like fast food—it’s quick but not great. It’s time to upgrade to an external webcam or even that old DSLR.
External webcams have optical zoom for better framing without losing quality. Look for 1080p at 30–60fps for clear, smooth video. Plus, features like the CV600 improve color and stability, making your video pop.
Using a DSLR as a webcam can really boost your video quality. It turns you into a visual star. But, it comes with its own set of challenges. You’ll need to adjust webcam settings, keep up with firmware updates, and avoid overheating during meetings. It’s like a high-wire act without a safety net.
Smartphones are a good middle option. Many top models can beat dedicated webcams, but setting them up can be tricky. My tip? Choose your camera based on the meeting’s importance. For casual chats, your laptop is fine. But for big deals, grab that mirrorless camera and watch your video quality soar.
Lighting Three-Point Made Simple: Windows, Key, Fill, Background Practicals
In virtual meetings, lighting is key. A good lighting setup can make your remote sessions shine. Let’s explore the basics of three-point lighting, a simple yet effective technique.
The key light is your main light, placed at a 45-degree angle from your face. It makes sure you look good, not like you’re hiding. The fill light softens shadows, making you look balanced. The back light adds depth, creating a halo effect.
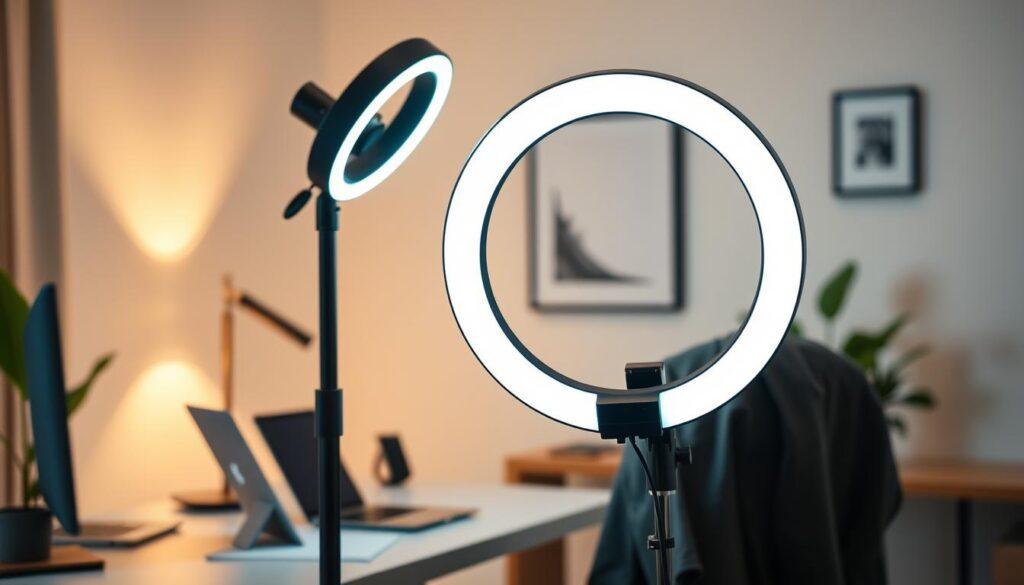
The Oryon LED Ring Light Kit is a great option for simplicity. It offers even, flattering light. But, be careful with color temperatures. Mixing them can look bad. Keep your lighting consistent for a polished look.
Natural light can be unpredictable. Windows are great until a cloud blocks the light. To fix this, move your setup or add front lighting. Background practicals, like lamps, can also add interest to your scene.
Backgrounds: Real Shelves, Plants, Drapes, Depth or Virtual Branded Sets
Your background is key to your virtual look. It can make or break your message. The right backdrop can turn you into a pro or a mess. Let’s dive into making your space work for you.
Real Backgrounds: Imagine a shelf with books you’ve read or a lush monstera plant. These show you’re real in a world that often feels fake. They tell a story about you, blending personality with professionalism.
Depth Matters: Don’t sit right against a wall. Move your desk forward for depth. This small change makes you seem more open and friendly. It’s a small detail that makes a big difference.
Virtual Backgrounds: If you like digital, make sure your zoom backgrounds are bright and clear. A dark background can make you look like you’re from another world. Brands like Ikan have systems that make your virtual look seamless.
Organization is Key: Keep your background tidy and simple. A little branding can go a long way without being too much. You want to show you’re competent before you even speak.
| Background Type | Pros | Cons |
|---|---|---|
| Real Backgrounds | Authenticity, Personal Touch | Requires Maintenance, Space Limitations |
| Virtual Backgrounds | Consistency, Easy to Change | Can Look Unnatural, Requires Good Lighting |
| Depth Creation | Enhanced Visual Appeal, Openness | Requires Space Adjustment |
In conclusion, whether you choose real or virtual backgrounds, they should boost your image. For more on using your backdrop as a branding tool, check out this resource.
Wardrobe for Webcam: Crops, Collars, Jewelry, and Pattern Scale Tips
Your webcam wardrobe is key to your virtual presence. It’s not just about looking good. It’s about making sure your outfit supports your message.
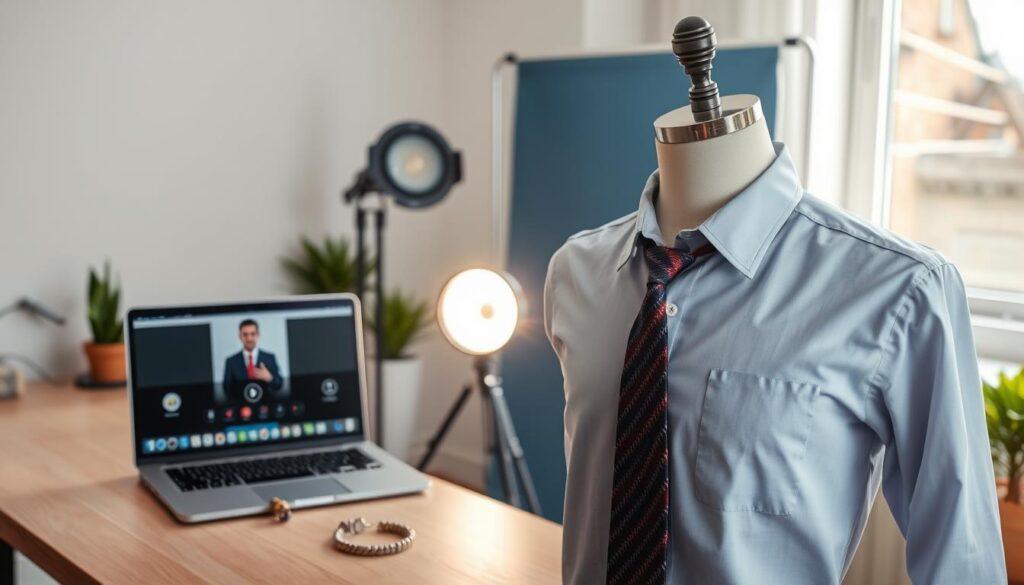
Let’s talk about pattern scale. That paisley tie might look great in person, but it can be overwhelming on camera. Solid colors are better because they don’t cause distractions. But, not all solids are the same. White can be too bright, and black can make you disappear.
The crop of your outfit is important because webcams show you from mid-chest up. Your collar is like a frame within a frame. A well-set collar helps define your shape. Avoid loose collars that make you look sloppy.
When it comes to jewelry, follow the “one statement piece” rule. Earrings might be eye-catching in person, but on camera, they can be distracting. Keep jewelry simple and let your personality shine through.
Remember, your DSLR as webcam setup will show every detail of your outfit. So, don’t forget to use a lint roller. You want to look polished and professional, not like you just woke up.
| Wardrobe Element | Tips | Common Mistakes |
|---|---|---|
| Colors | Choose jewel tones and muted blues. | Avoid bright whites and blacks. |
| Patterns | Stick to solid colors. | Wearing tight stripes or busy patterns. |
| Collars | Opt for structured collars. | Using stretched-out crewnecks. |
| Jewelry | Limit to one statement piece. | Over-accessorizing. |
Audio: Lav or Headset, Room Treatment, and Echo Killers
In the world of virtual headshots, audio quality is key. A bad sound can ruin your whole setup. It can distract, tire you out, and cause misunderstandings.
USB microphones are a big improvement. They give a richer sound and block out background noise. Imagine your message coming through clear, without any distractions.
Headsets offer a steady sound, but they might make you look like a pilot. Yet, if you value sound quality, it’s worth it.
Room treatment might seem scary, but it’s just about soft things. Think of bookshelves, rugs, and curtains. They soak up sound, making your space sound better. For remote and hybrid sessions, good audio is essential.
Wearing headphones during sessions helps catch audio problems right away. It’s like catching a mistake before it’s too late. For tips on better audio while working from home, check out this resource.
On-Screen Coaching: Eye Line, Posture, Gestures, and Energy
Your camera’s position is key in remote sessions. It’s like a window to your world. Make sure it frames you well, not too close. The best spot is at or slightly above your eyes.
This view captures you from mid-chest up, placing your eyes in the top third of the screen. It’s a rule used in broadcast news for decades. It makes you look more engaging.
Eye line is important for connection. A camera too low can make you seem disengaged or condescending. Lift your laptop or use a stand to keep your gaze up.
This opens up your face and invites viewers in. It’s better than pushing them away.
Posture is also key. Slumping shows disinterest. Sitting too straight can seem intimidating. The best posture is like being ready to move, with shoulders back and spine aligned but relaxed.
This posture shows confidence and helps you breathe better. It keeps your energy up.
The camera can drain your energy by about fifteen percent. To fight this, project a bit more but don’t overdo it. It’s like the difference between stage acting and film acting.
In person, your gestures might feel natural. But on camera, they can look odd. Slow down your hand movements by about thirty percent and keep them in the frame.
Your gestures should support your words, not distract from them.
| Aspect | Best Practice | Common Mistake |
|---|---|---|
| Eye Line | Camera at or above eye level | Camera below chin level |
| Posture | Shoulders back, relaxed | Slumping or rigid |
| Gestures | Slow, within frame | Fast, outside frame |
| Energy | Project slightly more | Underwhelming presence |
Mastering these elements will improve your on-screen presence. It will also make your sessions more engaging for your audience. For more tips on communication skills and their impact, check out this resource.
Tech Rehearsal Checklist: Bandwidth, Uploads, Batteries, Backups
Before you hit that ‘Join Meeting’ button, let’s talk about the tech rehearsal that can save your sanity. This step is key for professionals, but often skipped by amateurs. A little preparation can make a big difference.
Bandwidth is the silent saboteur. Your lighting and ring light setup mean nothing if your face freezes. Run a speed test thirty minutes before showtime. For high-stakes sessions, have a mobile hotspot ready, just in case.
Next up, we have batteries. That DSLR as webcam setup drinks power fast. The battery indicator lies. Plug everything in and double-check that it’s actually charging. A dead camera in the middle of your presentation screams “amateur”.
Don’t forget about uploads and file access. The presentation on your desktop is one hard-drive failure away from disaster. Keep your materials stored in both cloud and local locations. A USB drive in your bag is smart planning, not paranoia.
Here’s a pre-meeting checklist to keep you on track:
| Checklist Item | Description | Status |
|---|---|---|
| Camera Positioning | Ensure the camera is at eye level and properly framed. | ✔️ |
| Audio Clarity | Verify that your microphone is working and clear. | ✔️ |
| Internet Stability | Run a bandwidth test to confirm a stable connection. | ✔️ |
| Platform Proficiency | Familiarize yourself with the meeting platform features. | ✔️ |
| Lighting & Background | Check your lighting setup and background for distractions. | ✔️ |
This checklist isn’t just busywork; it’s the difference between looking like you’ve done this before and looking like you’re doing this for the first time. So, gear up and prepare. Your tech rehearsal is your best ally in the battle against virtual chaos!
File Delivery: Screen Grabs vs RAW, Remote Tether Workflow
After the virtual headshot session ends, it’s time to focus on file delivery. Many see this step as an afterthought, but it’s key to a great experience. Screen grabs are like fast food—quick but lacking in quality.
On the other hand, RAW files are like full negatives, full of data for later editing. They make a big difference in your virtual headshots’ quality.
Now, let’s talk about remote tether workflow. Shooting tethered in a studio shows your images right away on a calibrated monitor. But, doing this remotely needs strong software, cloud syncing, and patience.
Your workflow must handle big file sizes and internet issues. It should also use clear naming and avoid losing image quality during delivery.
While zoom backgrounds hide your messy office, they can’t hide bad file management. Whether it’s screen grabs for social media or RAW files for editing, your delivery matters. Make it professional.
Template for Virtual Session Invite and Prep Email
Creating the perfect invite for remote and hybrid sessions is an art. It sets the stage for professionalism and clarity. Your email should do more than just share a link; it should educate participants on how to shine during the session.
Start with a warm greeting, followed by the essential details. Mention the date, time, and platform. Don’t forget to highlight the importance of camera positioning. Suggest placing the camera at eye level to avoid those awkward angles that can distract from the conversation.
Next, provide a quick checklist. Remind them to verify audio clarity and internet stability. If they’re using a DSLR as a webcam, encourage them to embrace it. This small detail elevates the session and signals a commitment to quality.
Lighting is key. A simple note about facing a window can significantly enhance their visual presence. Share tips on wardrobe choices, focusing on colors that pop on camera and backgrounds that are clean and professional.
Lastly, include a reminder to charge devices and close any bandwidth-hogging applications. This preparation is not micromanagement; it’s about curating an experience that reflects professionalism. When everyone arrives ready, the session transforms from a mere call into a collaborative experience. Treat your virtual space as a venue worthy of preparation, and watch the quality of your remote and hybrid sessions soar.