
In today’s world, how you look is not just about looks. It’s about showing who you are. It’s like your personal brand.
Bad photos can make you look unprofessional. It’s all about being ready. Think about trusting someone who looks like they just woke up to handle your big projects. It’s unlikely.
Experts say your image starts before the photo shoot. This part talks about why getting ready is key. It’s like how politicians shape their image.
Good styling sends a message without words. It shows you care about details. In just a tenth of a second, people judge you by your photo. Make that moment count.
Key Takeaways
- Your appearance creates instant first impressions that impact professional perception
- Preparation begins long before the actual photography session
- Small details communicate attention to detail and professionalism
- Personal branding through appearance mirrors political image strategy
- Non-verbal cues from your grooming choices speak louder than words
- Investing in proper preparation yields better returns than expensive equipment
Skincare Prep (Men & Women)
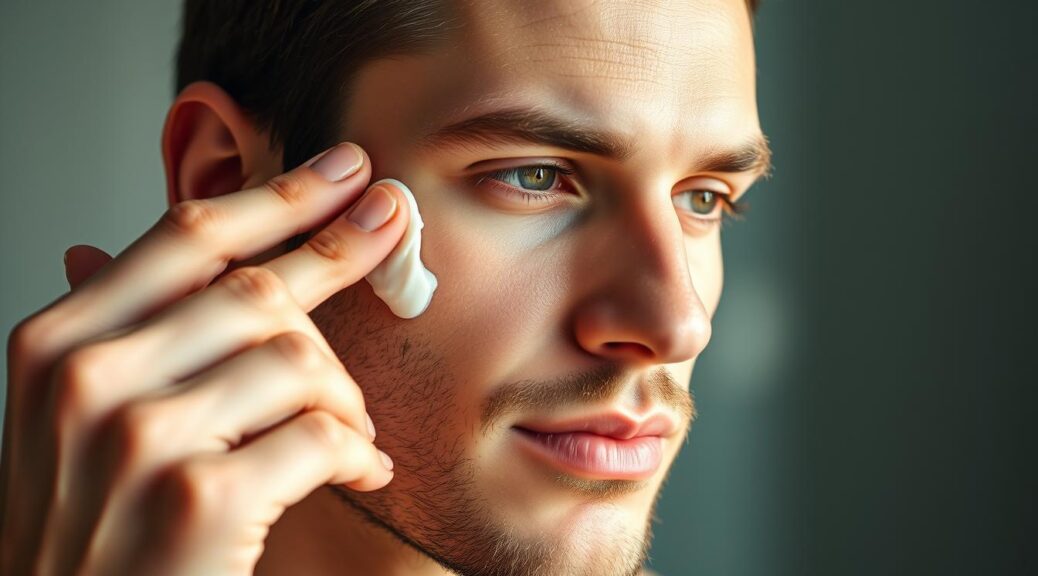
High-definition cameras don’t care if you’re a man or a woman. They show every flaw with no mercy. Your skin is like the front page of your personal newspaper, with every detail highlighted.
Camera-ready skin isn’t about being perfect. It’s about getting ready in a way that makes your skin look great, even in bad light.
The 72-hour pre-shoot routine is key. Rushing to get ready shows on camera like a bad political ad. It’s obvious and doesn’t work.
Start with hydration like you’re getting ready for a long debate. Drink lots of water to keep your skin hydrated. Dehydrated skin looks bad on camera, like a politician dodging questions.
Exfoliation is important, but do it at the right time. Exfoliate 48 hours before to be effective without causing redness. It’s like doing research on your skin’s flaws.
Good skincare is different from great camera prep:
| Time Before Shoot | Skincare Step | Purpose | Result on Camera |
|---|---|---|---|
| 72 hours | Gentle exfoliation | Remove dead skin cells | Smooth texture, even foundation |
| 48 hours | Hydrating masks | Plump skin cells | Reduced fine lines |
| 24 hours | No new products | Avoid reactions | Consistent complexion |
| Morning of | Light moisturizer | Balance oil production | Natural glow, no shine |
Makeup artists say, “Foundation shouldn’t cover pores – it should work with them.” The best foundation enhances your skin, not hides it.
Day-of strategies make your skin look naturally perfect. Use products that give you the “glass skin effect” – balanced and flawless.
Cameras catch things that our eyes miss. A small vein or dry patch can become a big deal under studio lights.
Your skincare routine is your defense against harsh camera truth. When the cameras start rolling, there’s no way to spin your pores.
Beard, Shaving & Facial Hair Guide
Your facial hair is more than just hair. It’s a statement of who you are. A well-groomed beard shows you’re thoughtful. But stubble can look like you didn’t try.
Looking at headshots, I’ve seen the difference between intentional and accidental scruff. The camera shows your grooming habits clearly, especially with the right lighting.
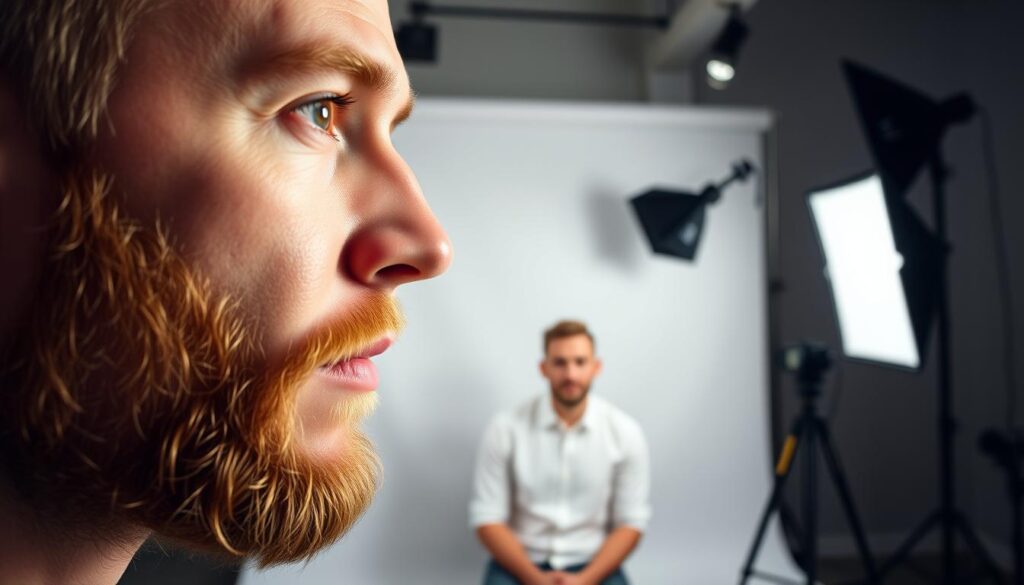
Face shapes matter when choosing a beard style. Just like policies, not every style fits every face. Your beard should enhance your features, not clash with them.
Round faces look good with angular beards. Square jaws do well with rounded beards. Oval faces can pull off almost any style.
Shaving techniques are crucial. A five-blade razor might seem excessive, but it prevents ingrown hairs. Always shave with the grain and use quality products. And don’t forget to change your blades often.
Now, let’s look at how facial hair politics vary across industries:
| Industry | Acceptable Styles | Risk Level | Photography Considerations |
|---|---|---|---|
| Silicon Valley | Full beards, creative styles | Low | Texture shows well in casual lighting |
| Wall Street | Clean shave or trimmed | High | Sharp lines require even lighting |
| Academia | Professorial beards | Medium | Soft lighting minimizes gray contrast |
| Government | Conservative trim | Medium-High | Even growth crucial for flash photography |
Maintenance is key. Your beard needs regular trimming, even if you’re growing it. Split ends look bad in photos, like poorly researched policies.
Invest in quality tools: sharp scissors, good trimmer, beard oil. Your facial hair is as important as your arguments. When the camera focuses, every hair tells a story.
Remember, intentional grooming beats impressive every time. Your beard should say “listen to me,” not “look at me.” Now go groom like your career depends on it – because in those headshots, it just might.
Hair: Fresh Cut or Styled?
Bad hair choices have ruined more careers than bad policies. Your hair speaks volumes before you even say a word. A bad haircut can make your job harder before you even start.
The debate over fresh cuts versus styled hair is key. That politician who looked like a meerkat? They cut their hair 24 hours before the photo shoot. The best time is 3-7 days after, when it still looks sharp.
Lighting can turn hair into a key feature. Backlighting makes you look wise, while front lighting highlights texture. Great photographers see hair as part of the face, not separate.
Celebrity stylists use a trick you can try: directional styling. They add volume where the camera sees it. Your left and right sides might need different hair styles. It’s about making your image pop in two dimensions.
Working with your stylist and photographer is crucial. They should speak the same language. This way, your hair looks perfect, not stiff.
Your hair should show you’re focused, not trying too hard. The right look can get you the job. The wrong one might send you to the recycling bin.
Products to Avoid
Ever wonder why some people look flawless in person but not in photos? It’s because the camera catches things we don’t see. Certain grooming products can look bad under studio lights.
I’ve seen many makeup disasters. Some products are weapons of mass destruction for your camera look.
Let’s look at the worst products that make people look like ghosts in photos.
The Shine Brigade
Some serums and moisturizers make you look oily. Under studio lights, this “healthy glow” can be too much.
Avoid these shine-makers:
- High-gloss facial oils
- Silicon-based primers
- Illuminating moisturizers
- Shimmer-infused serums
These products cause “hot spots” that make you look sweaty, not radiant.
The Ghost Face Gang
SPF protection is key, but some sunscreens can make you look like you’re wearing whiteface paint.
Physical sunblocks with zinc oxide or titanium dioxide are the main culprits. They cause “flashback” – a white cast that makes you look supernatural.
The Flake Factory
Certain hair products seem fine until camera lights hit them. Then, every speck of dandruff shows like a snow globe.
Heavy pomades and dry shampoos contain particles that reflect light. This effect is worse under professional lighting.
These tips can help you look great on camera. The right products enhance; the wrong ones can ruin your look.
| Product Type | Why It Fails | Camera-Friendly Alternative |
|---|---|---|
| High-SPF Physical Sunscreen | Creates white cast under flash | Chemical sunscreen with SPF 30 |
| Silicon-Based Primers | Causes unnatural shine | Water-based moisturizing primer |
| Heavy Pomades | Highlights scalp flakes | Lightweight styling creams |
| Illuminating Serums | Creates hot spots | Matte finish moisturizers |
| Powder Dry Shampoos | Shows residue on dark hair | Spray formulas without talc |
Remember these tips for your next close-up. The right products can make you look great on camera.
“Look Awake” Tricks
Ever needed to look like you didn’t just pull an all-nighter analyzing election results? I’ve mastered looking alert while running on caffeine and existential dread. These are the trade secrets political aides and TV personalities use to appear fresh-faced under brutal lighting.
Eye-depuffing techniques work faster than a press secretary’s spin. Cold spoons or chilled tea bags reduce swelling in minutes. Gently tap around your eyes to stimulate circulation. This simple trick makes you look more awake instantly.
Color correction is your secret weapon against sleepless nights. Use peach or orange concealer to neutralize dark circles. Apply it before your regular foundation. This creates a natural, even skin tone that photographs beautifully.
For that dewy, healthy-looking skin, try a hydrating mist. Spritz it on before makeup application. It gives your skin a fresh, radiant glow. This technique works for both men and women seeking natural-looking results.
Strategic highlighting makes you look more awake. Apply a subtle highlighter to your cheekbones and brow bones. It catches the light in all the right places. This creates the illusion of well-rested, energetic skin.
Remember these professional photography considerations: Matte finishes sometimes look flat on camera. A slight dewiness reads as healthy and vibrant. Balance coverage with natural texture for the most flattering results.
These professional makeup techniques separate amateurs from pros. They’re the backstage passes to looking put-together. Even when your calendar resembles a congressional hearing schedule.
Master these awake-looking tricks. You’ll project confidence and competence. Whether you’re facing cameras or important meetings. Your refreshed appearance will speak before you do.
Day-of Checklist
Ever seen a debate where one candidate looks like they just woke up? The other looks like they’re ready for the presidency. That’s the power of planning versus going without a plan. Your headshot day needs the same careful planning as a big event.
I’ve seen many photo day mishaps. The main reason? No checklist. This is your guide to looking great when it counts.
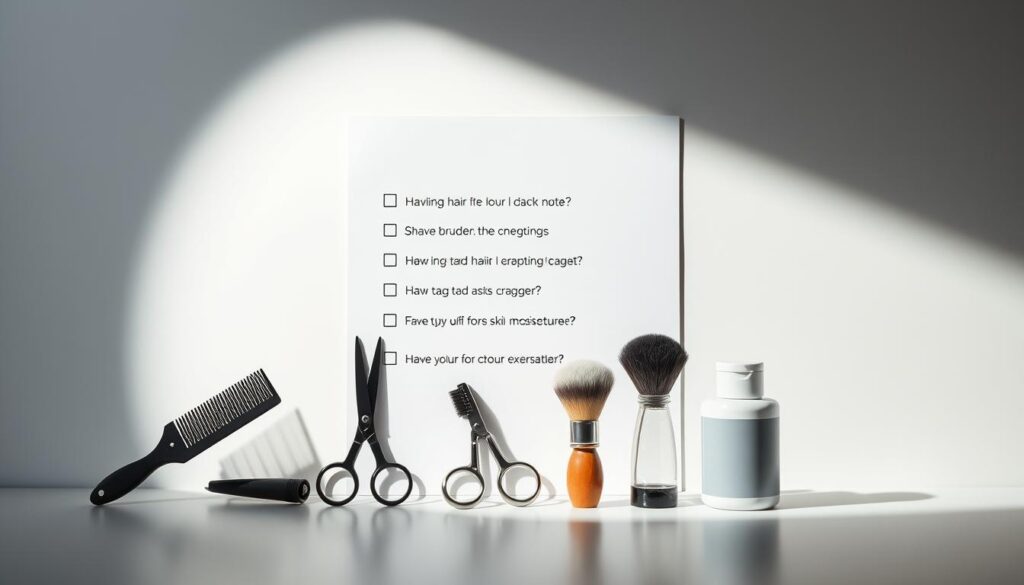
Start your day right. Drink water like you’re getting ready for a long race. It helps avoid puffy skin and dull looks.
Be careful with caffeine. Your last coffee should kick in 90 minutes before you start. This way, you’ll look awake but not jittery. It’s all about timing.
Keep your skincare simple. Use a light moisturizer and eye drops if needed. Stick to what you know works best. No new tricks today.
Emergency Kit: Your Political Survival Gear
Every pro has a backup plan. Your kit should have:
- Blotting papers for sudden shine emergencies
- A travel-sized moisturizer for dry skin flare-ups
- Lint roller for clothing catastrophes
- Mini hair product for style maintenance
- Breath mints because nobody wants to see your coffee breath
These tips make you stand out. Think of it as your quick response team.
The 60-Minute Countdown
This is your last chance to get ready. Check how you look in different lights. Some patterns can look weird on camera.
Practice your expressions in the mirror. Find that balance between confident and friendly. It’s like preparing for a press conference.
For final touches, be subtle. A bit of powder, a quick hair check, and you’re ready.
| Time Before Shoot | Action Item | Pro Tip | Common Mistake |
|---|---|---|---|
| 3 hours | Hydration & caffeine | Water first, coffee timed | Drinking coffee too late |
| 2 hours | Final grooming | Minimal product application | Trying new products |
| 1 hour | Emergency check | Test under different lights | Last-minute major changes |
| 30 minutes | Final touch-ups | Blotting papers only | Adding more makeup |
| 15 minutes | Mental preparation | Practice expressions | Getting nervous |
Remember, perfection comes from planning, not panic. Your checklist is your strategy for looking great on camera.
Feeling confident and prepared is key to the best headshots. With this plan, you’ll look like you have a whole team backing you up – even if it’s just you and your checklist.
In-Studio Touchups
I’ve seen more hair emergencies in studios than bad tie choices at presidential debates. That moment when the monitor reveals your strands have decided to rebel? Welcome to the real magic of photography sessions.
Tethered shooting turns everyone into instant critics. Your photographer becomes part artist, part emergency responder. They spot shine, flyaways, and collar issues before they become permanent mistakes. It’s like having a political debate prep team for your appearance.
Team collaboration separates pros from amateurs. The stylist watches the monitor while the photographer shoots, calling out adjustments between frames. This real-time feedback loop prevents disasters that would require reshoots.
Quick fixes that save sessions:
- Blotting papers combat shine without disturbing makeup
- Travel-sized hairspray tames flyaways in seconds
- Lint rollers handle wardrobe dust and pet hair
- Dental floss fixes gaping buttons (true broadcast trick)
Your hair might need the most attention. Instead of full restyles, professionals use targeted techniques. They fluff roots for volume, smooth ends with minimal product, and adjust part lines for better lighting response.
Remember: studio lighting exaggerates everything. What looks subtle in mirror becomes dramatic on camera. That’s why political figures and news anchors have teams making micro-adjustments during breaks.
The best part? These corrections take seconds but save hours of post-production work. Your photographer will love you for catching that stray hair before shot 50 instead of after.
Conclusion: Small Steps, Big Impression
Think of your headshot grooming like a political campaign strategy. Every detail counts. Your skincare routine, hair styling, and product choices are all key. They’re not just about looks; they show your competence.
I’ve seen many careers grow. People who dress well are often treated better. It’s not about being perfect. It’s about being consistent. Your daily skincare routine is part of your professional image.
Small grooming choices can make a big difference. A good personal presentation is like a political message. It shapes how people see you before you even speak. Your headshot is your first impression. Make it count.